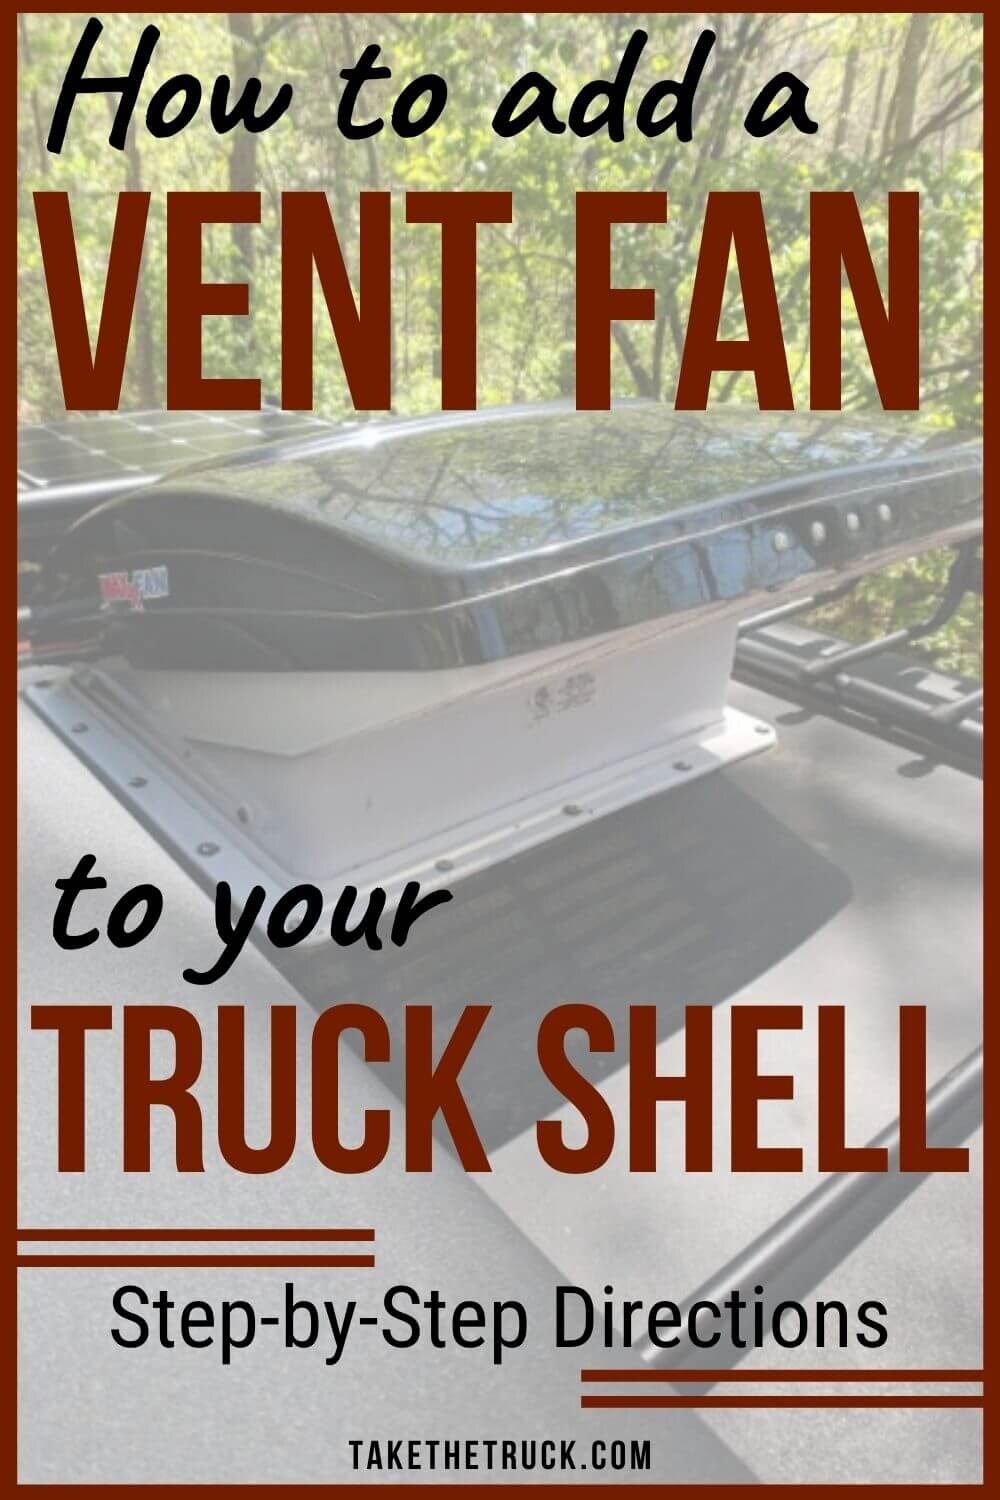
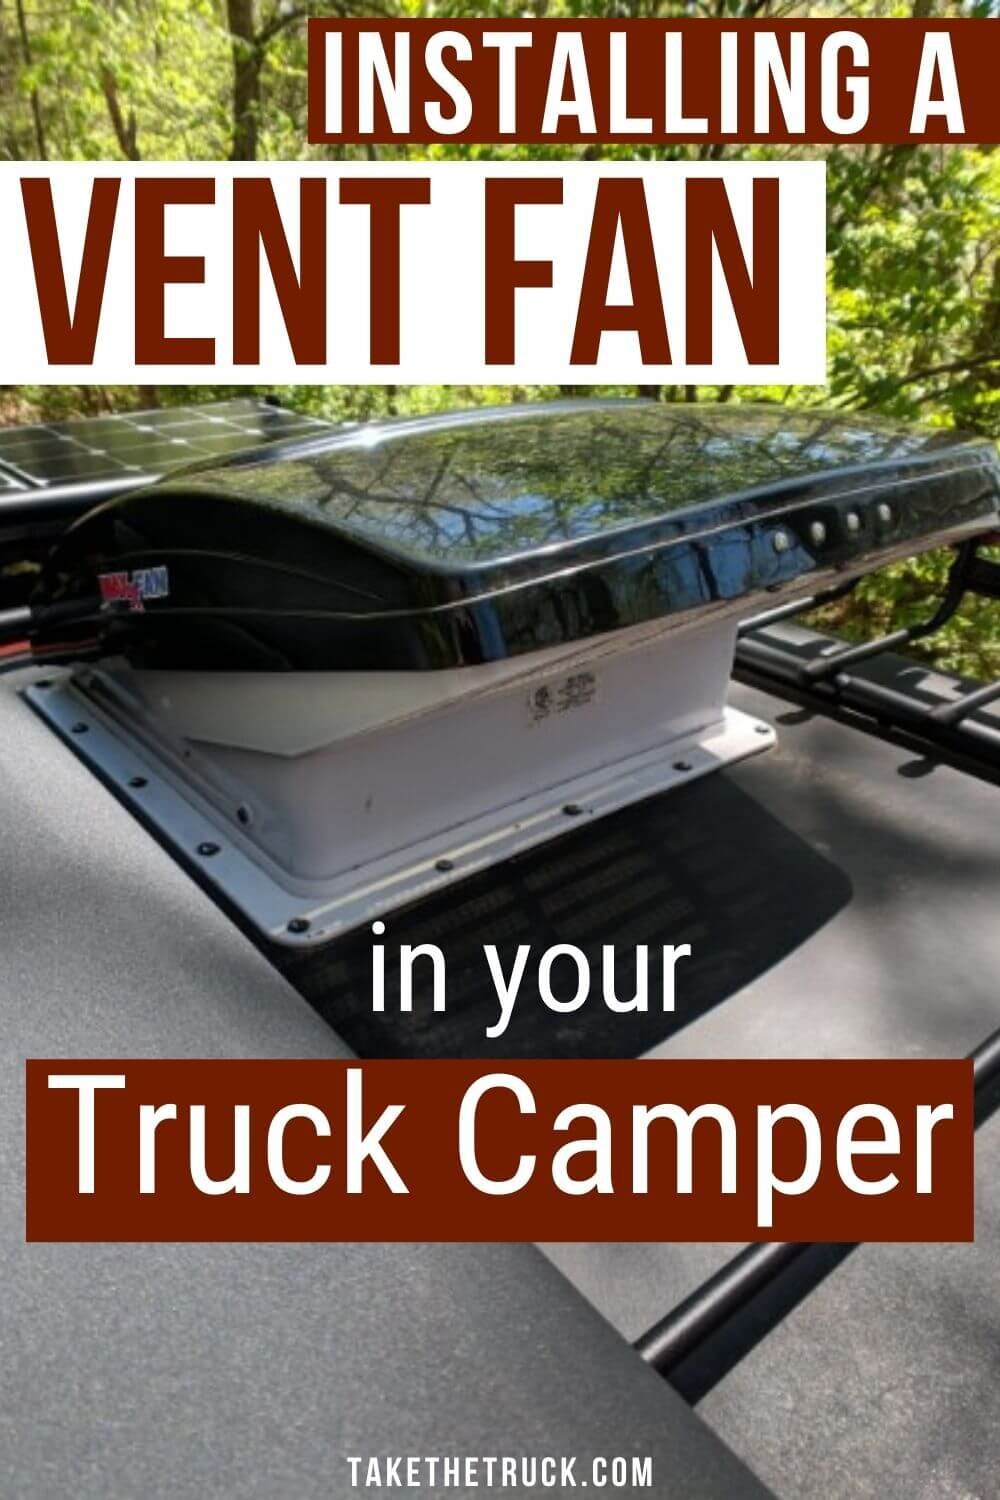
How to Install a Vent Fan in Your Truck Camper

By far, one of the best upgrades you can do to improve your truck camping experience is to install a vent fan in your truck shell camper.
In this post we’ll show you how!
Benefits of Adding a Vent Fan
But before we tell you to cut a hole in your camper shell, let’s talk about a couple of great benefits to having a vent fan mounted in your truck bed camper.
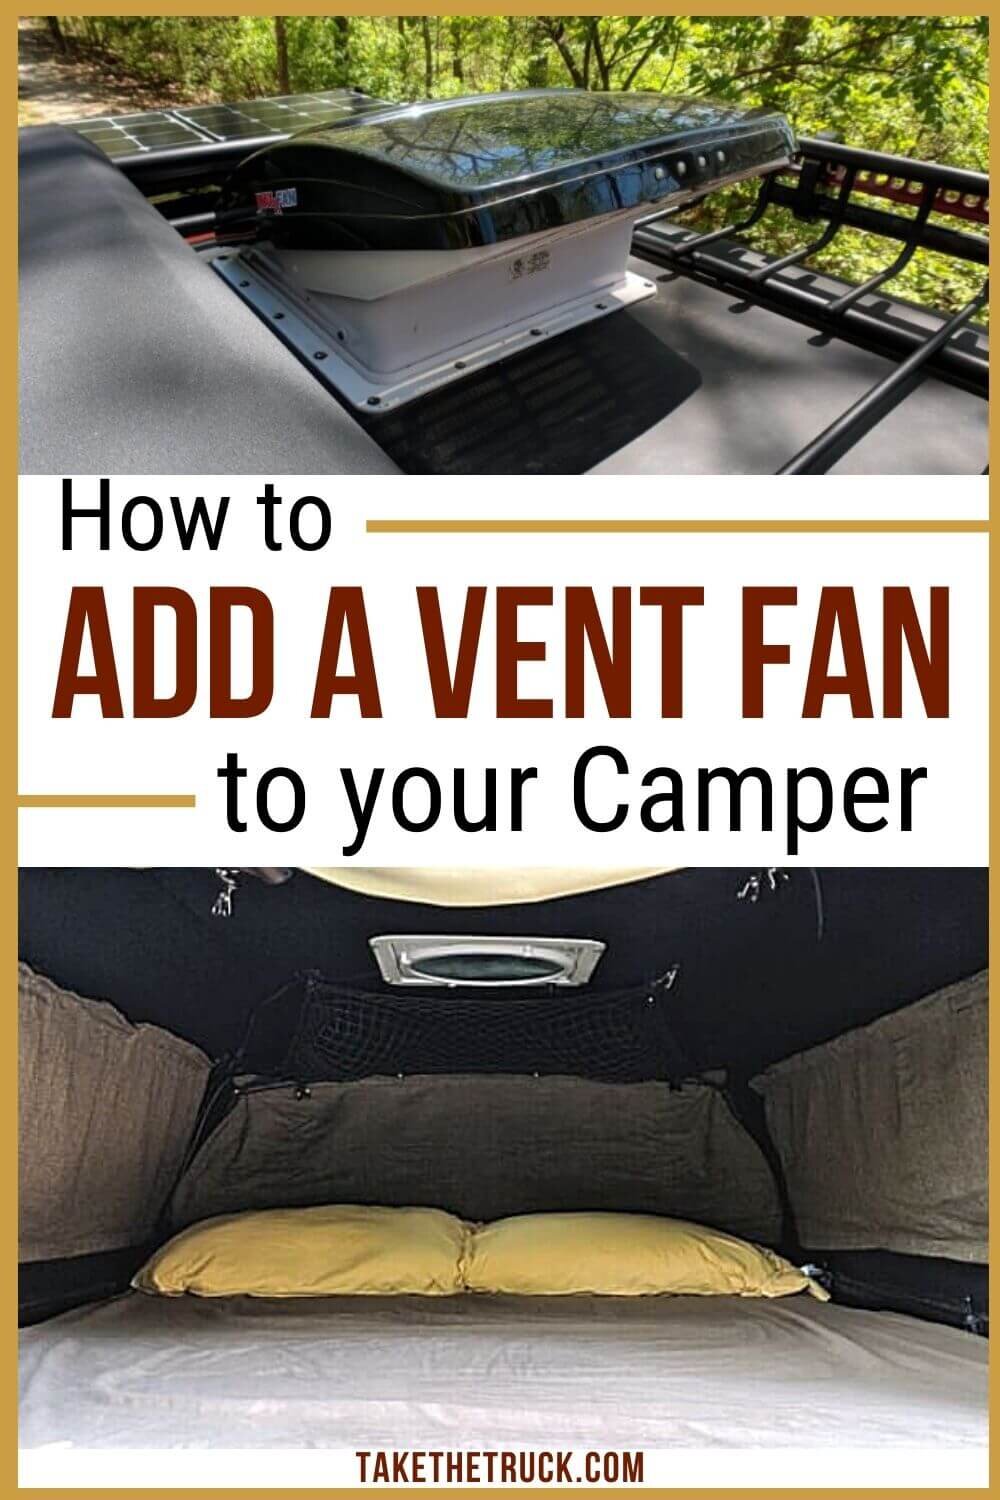
Adding a vent fan to your camper shell creates air flow beyond what opening the windows can do, which will help you stay cool while camping and sleeping in the summer heat. Because the MaxxAir Vent Fan moves SO much air - when laying underneath the vent fan, it feels aaaaalmost like air conditioning!
Air flow created by a vent fan also cuts down on the condensation that inevitably builds up overnight - especially if it's cold outside - and sometimes drips down onto your face. Not a fun way to wake up!
So no matter your camping season, you’re gonna love the addition of a vent fan.
First Things First: Tell Yourself You Can Do This!
Let’s jump right to the hardest part and get that out of the way: coming to terms with the fact that you’re going to be cutting a 14” by 14” hole in the roof of your camper shell.
This was tough for us to wrap our heads around, even though we only paid $40 for our truck canopy. It’s permanent, and would feel especially wrong to do to a brand new camper shell.
So make sure you’re comfortable taking this leap before you proceed, because there’s no going back. But it is absolutely worth it!
Once you’ve conquered your fears, grab your supplies!
*(This post contains affiliate links. This means we may receive a small commission, at no additional cost to you, if you make a purchase through a link. See our full disclosure.)
Supplies Needed to install a vent fan
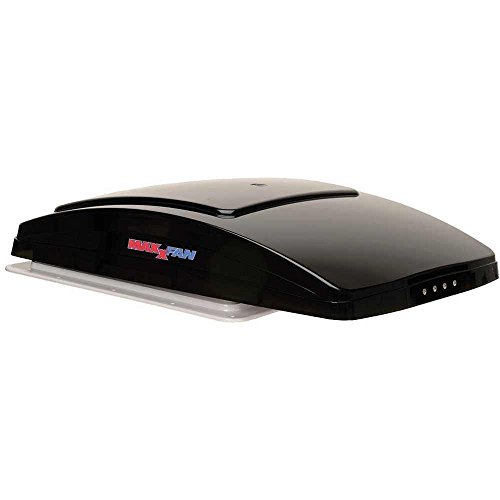
Maxxfan Deluxe Ventfan* - we recommend this model because of the following:
It can be fully opened in the rain
Super low profile (for a vent fan)
10-speed fan allows you to fine-tune comfort level vs. power usage
900cfm output/input (in layman's terms - it moves a whole lot of air!)
Built in thermostat
Remote control and electric lid opening/closing (you can adjust it from the cab or outside of the truck)
Tape measure
Masking tape
Jigsaw* and a fine tooth metal cutting blade
Drill
1” Hole saw* or large drill bit (¾”)
Box of ¾” pan-head phillips screws
Small diameter drill bit for drilling pilot holes for screws
Particulate mask and eye protection
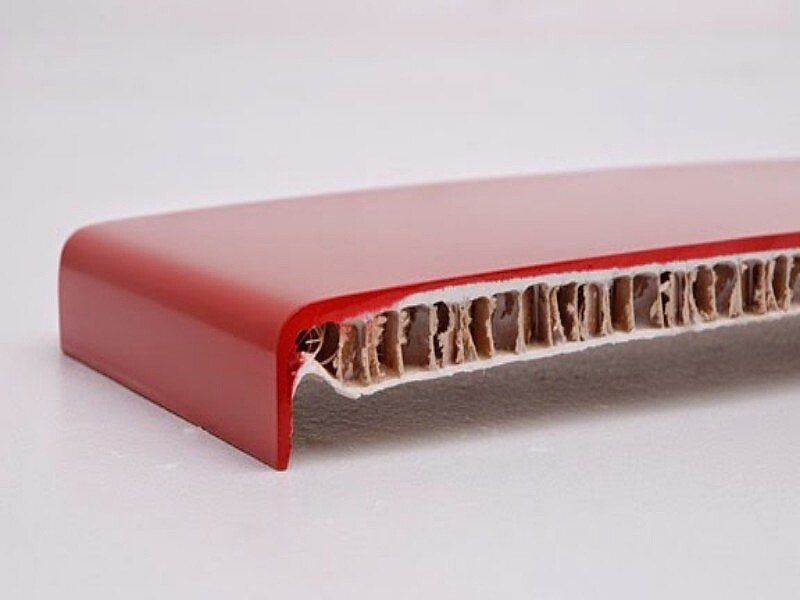
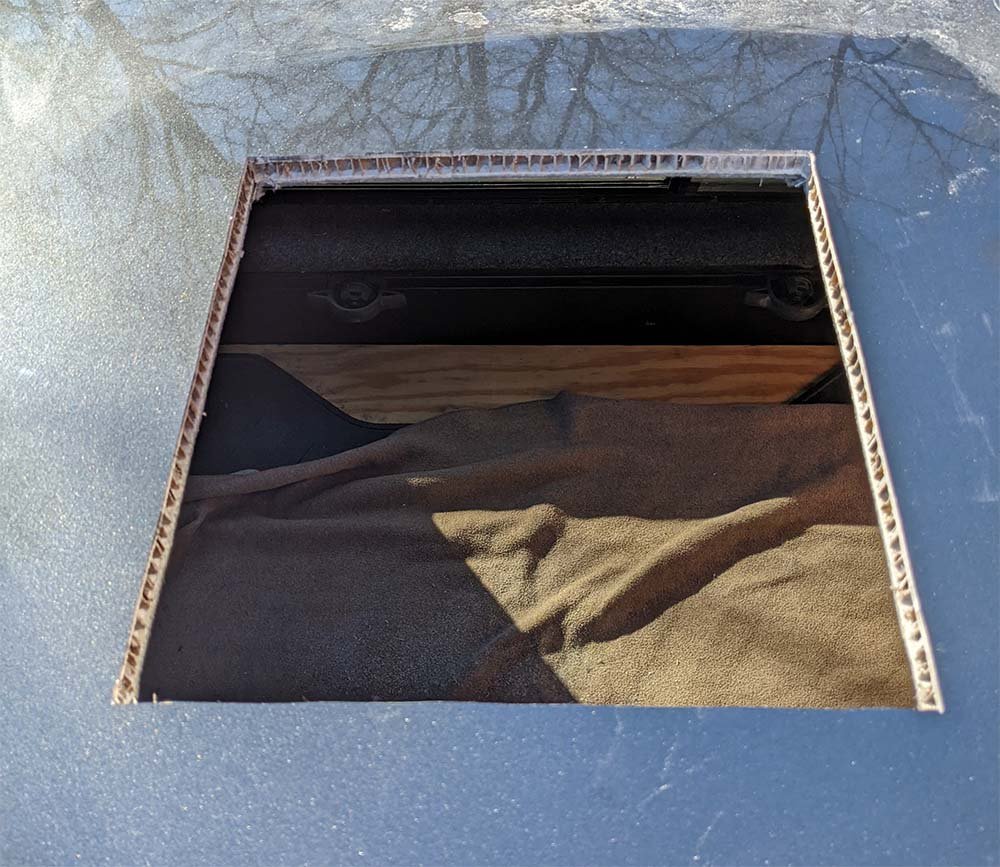
**NOTE: If your camper shell does not have an insulated roof like the one shown in the left-hand image below or if you’re using an aluminum truck canopy, you’ll need about 6ft of 2”x1” wood to build a frame around the underside edge of the opening you cut in your truck shell (right-hand image below). This is required to provide enough mounting surface/thickness for the upper vent fan section to be screwed down into.

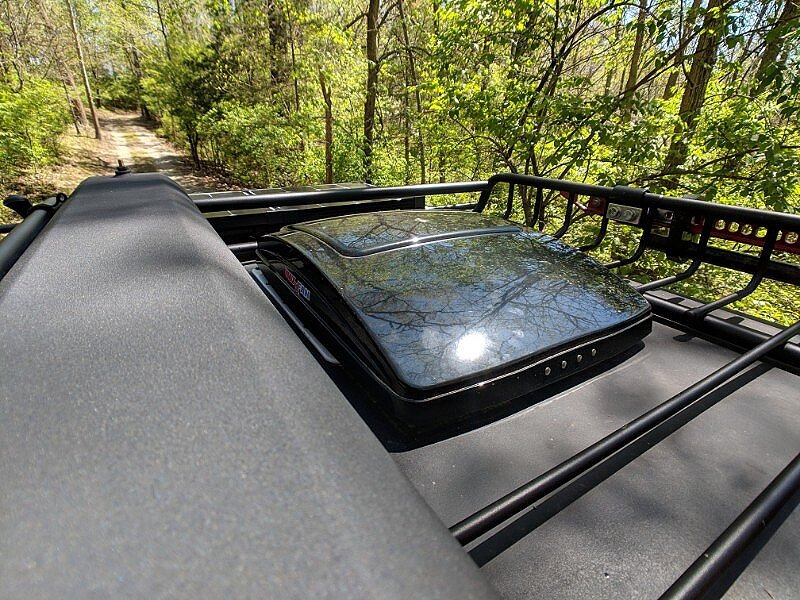
choose a location for your vent fan
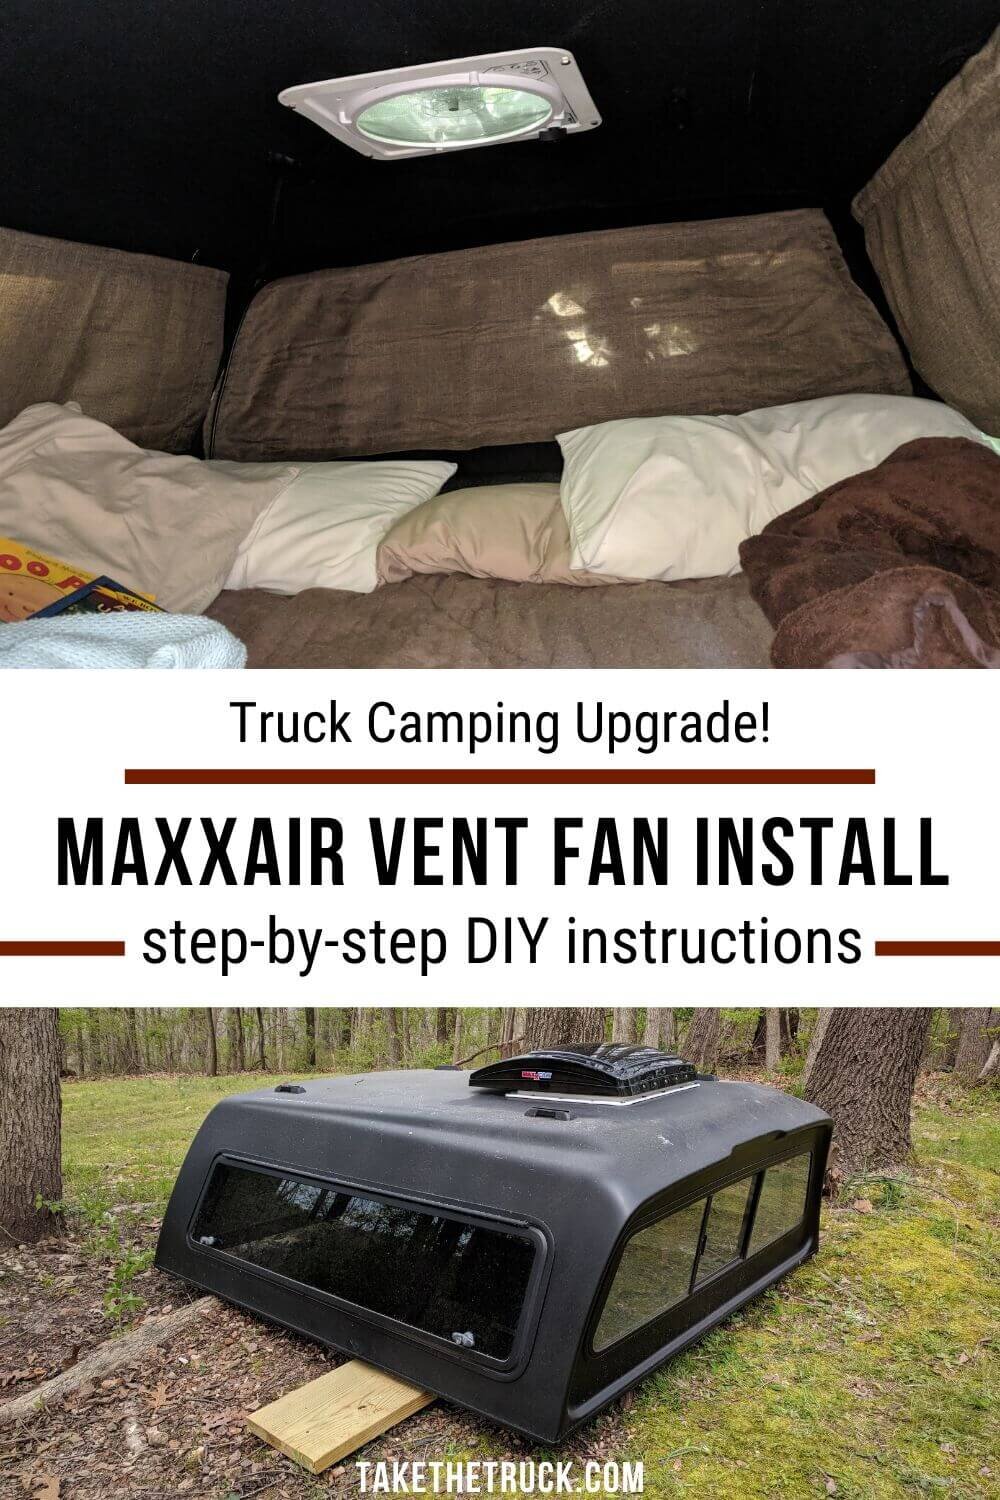
Now you’ll want to decide where on the truck shell you want your vent fan. For our build we wanted the vent fan to be as far forward as possible and centered so that it would blow directly on our heads to help us feel cool, and to increase the amount of usable space on our cargo basket.
**If you have a cargo basket you’re going to have to “modify” that as well - leave a comment below if you have questions about this.**
But you can select any area that works for you and your truck camper build. Just keep in mind that you’ll want an area that is as close to flat as possible.
measure, mask, and cut Your Camper Roof
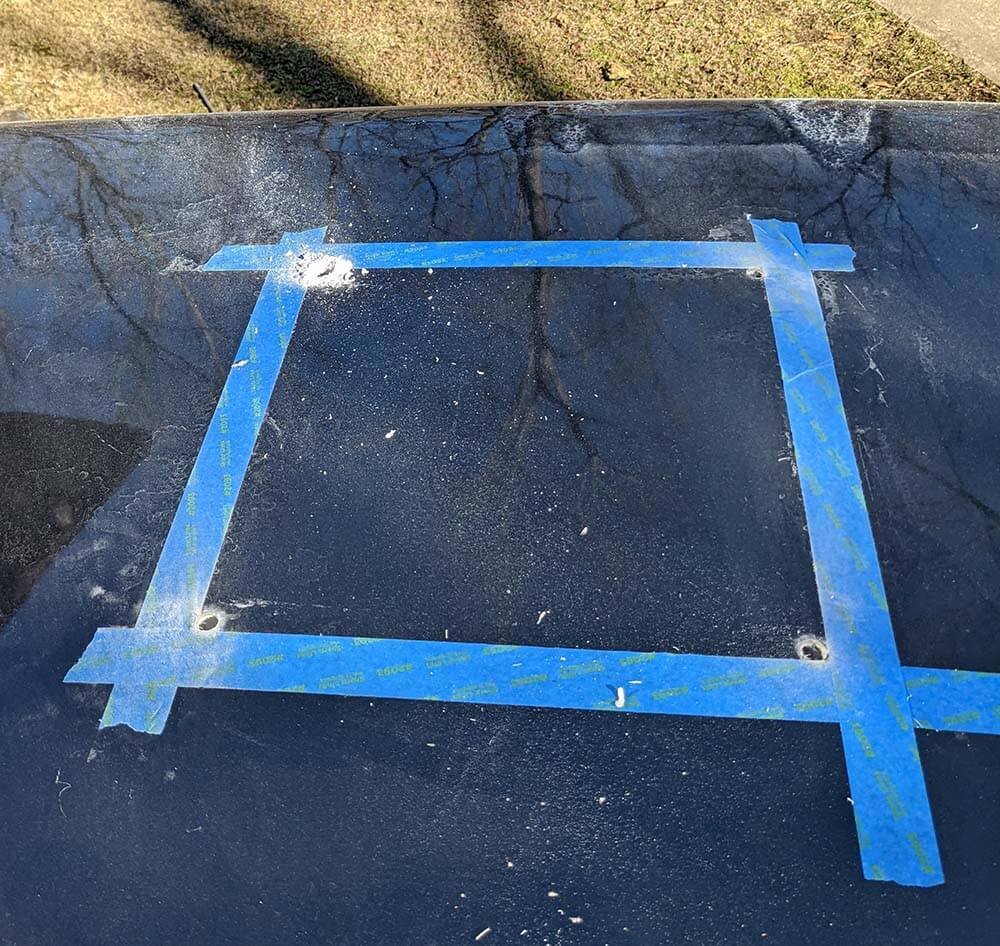
Once you’ve decided on a location for your Maxxfan, you’ll need to measure and mask off the space where you’re going to cut the giant hole for the vent fan to be mounted into!
For the Maxxfan Deluxe, the manufacturer stated this hole needed to be 14” x 14” square, but consult the mounting directions for your specific vent fan before you start. So using your tape measure, speed square, and masking tape - mask off your nice square...square :)

Now the real fun begins! Using your drill with 1” holesaw (or a large drill bit), drill a hole at the inside edge of each of the four corners of your masked-off square as shown in the above diagram. These will allow you to easily reposition the jigsaw to the 90 degree angles of the square.
Next grab your jigsaw - we used a fine-tooth metal-cutting blade - and starting in one of the corner holes you just drilled, begin cutting out the square following your masked lines.
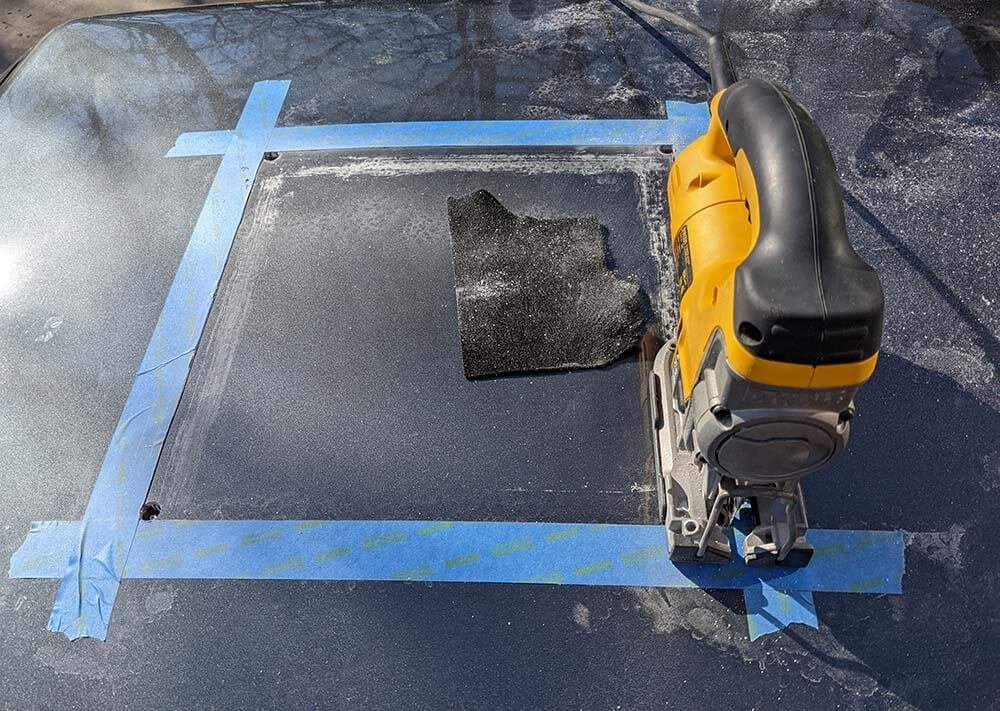
Be sure to wear a particulate mask and safety glasses, because you do not want the fiberglass dust in your eyes or lungs!
Alright! The hard part is over!
Time to Install the Vent Fan
You can now remove your masking tape, and you’ll also want to clean off any fiberglass dust from around the opening with a damp rag.
Then run a continuous layer of butyl tape around the entire top edge of the opening. This stuff is super sticky and helps seal out water while staying pliable (unlike putty tape - which will eventually dry out, get hard, crack, and leak).
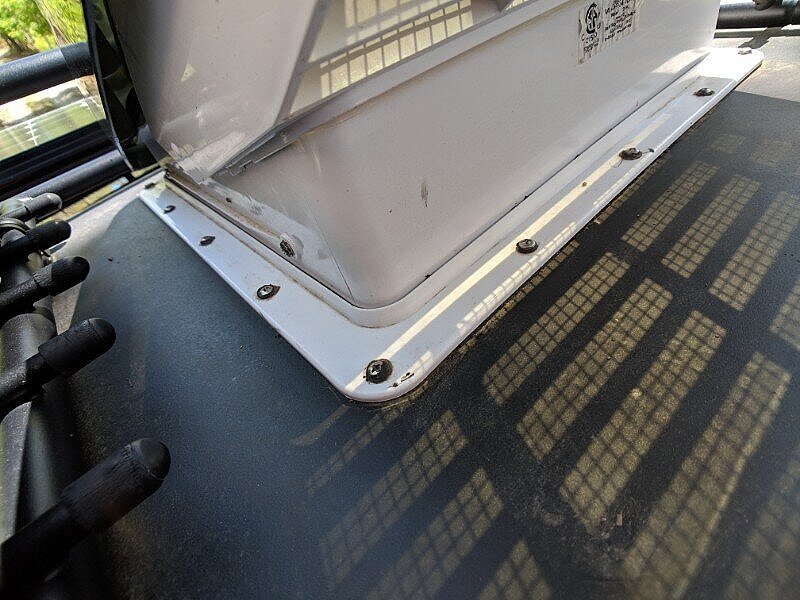
Then simply insert the vent fan and begin screwing it down as per the manufacturer’s installation directions. We’ve done this a time or two on our old RVs, and have found that starting in the center of each side and working towards the corners in a criss-cross rotation helps with sealing the vent evenly to the roof of the camper shell.
***TIPS: 1) We recommend piloting the screw holes with a small diameter drill bit before driving the screws into the vent fan’s mounting surface, in order to prevent the screws from cracking the fiberglass. 2) Coat the screw threads with RV self-leveling caulk before driving them in to help seal them up well!
Next you can install the interior decorative trim piece to the underside of the camper shell. This trim piece comes approximately 6” tall and will need to be cut down to a height that fits your particular install.
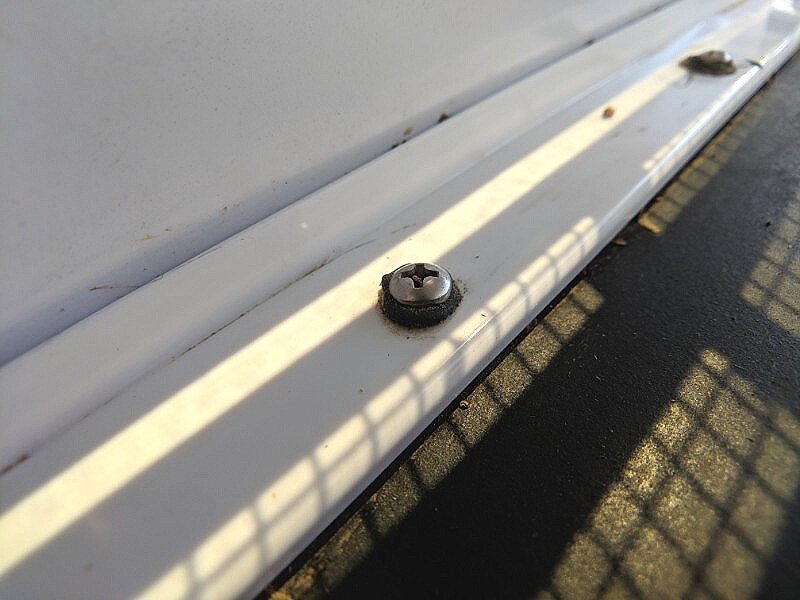
We marked ours at the appropriate height (1”) with a red sharpie and cut it using our jigsaw, and then it only required 4 screws to secure to the camper shell’s ceiling.
We recommend spraying the exterior thoroughly with a garden hose after installation to check for any potential leaks before installing this trim piece . Thankfully we had none!

Finally you can wire the fan into your 12v power supply, and be sure to use an appropriately rated fuse - in our case this was a 5 amp inline fuse to our dual battery setup. The wiring on our unit was a simple 2-wire positive (+) / negative (-).
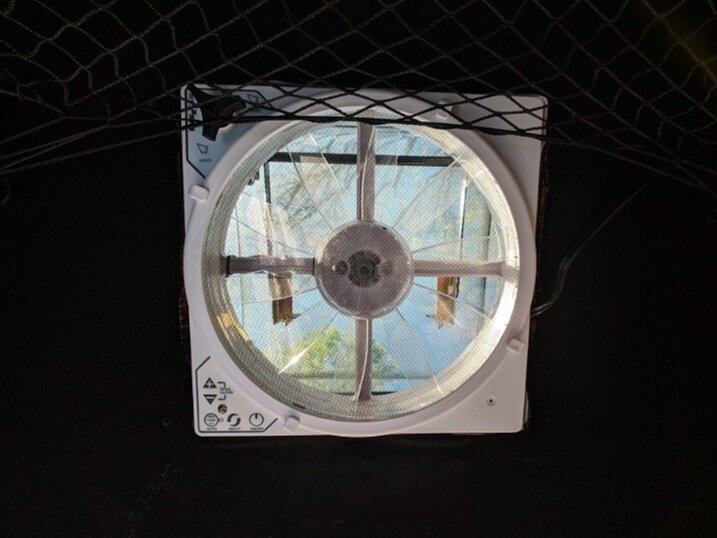
Now kick it on high and enjoy the glory of a vent fan blowing 900cfm of air into your little truck bed camper!
Please let us know if you have any questions by dropping a comment below.
For more tips on staying cool when summer camping, check out this post - Summer Camping in Hot Weather? Here’s How to Beat the Heat. And if you aren’t quite ready to cut that hole in your roof, a few other portable fans are recommended in that post.
Please SUBSCRIBE for more truck camping and overland travel tips.
As always, thanks for reading!
Related Posts:
Truck Camper Awning: How to Install a Rear Awning for Truck Camping
Portable Camping Power Part 2: Determine Your Power Supply Needs
Looking for a Portable Camp Shower? Here’s Why The Road Shower is The Best
Installing your vent fan later? Pin me!