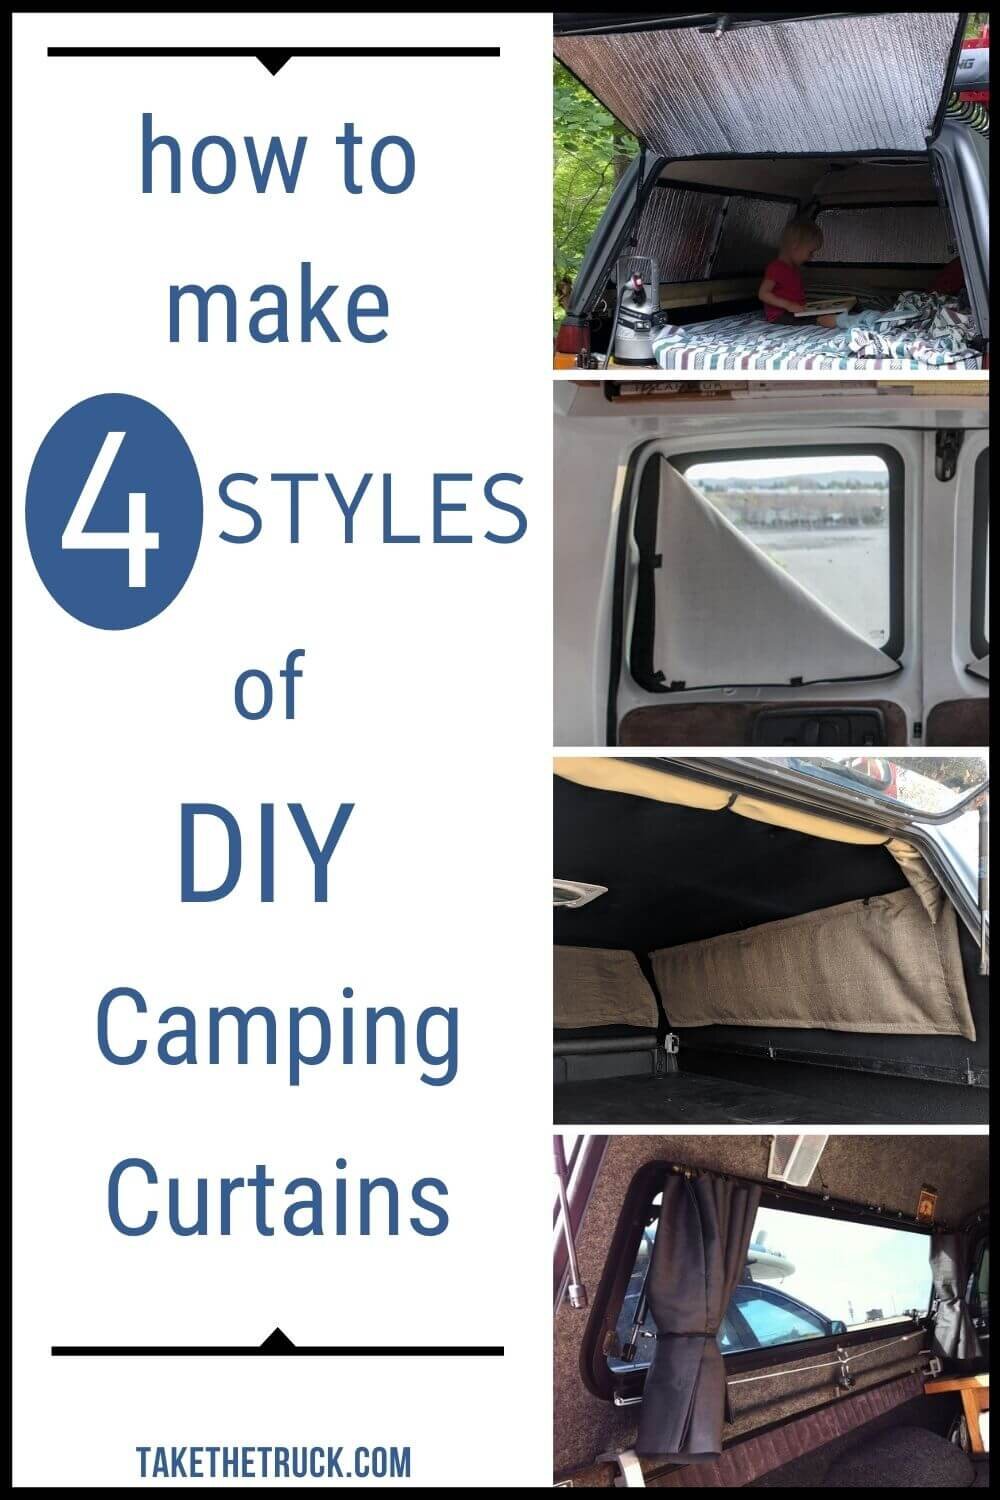
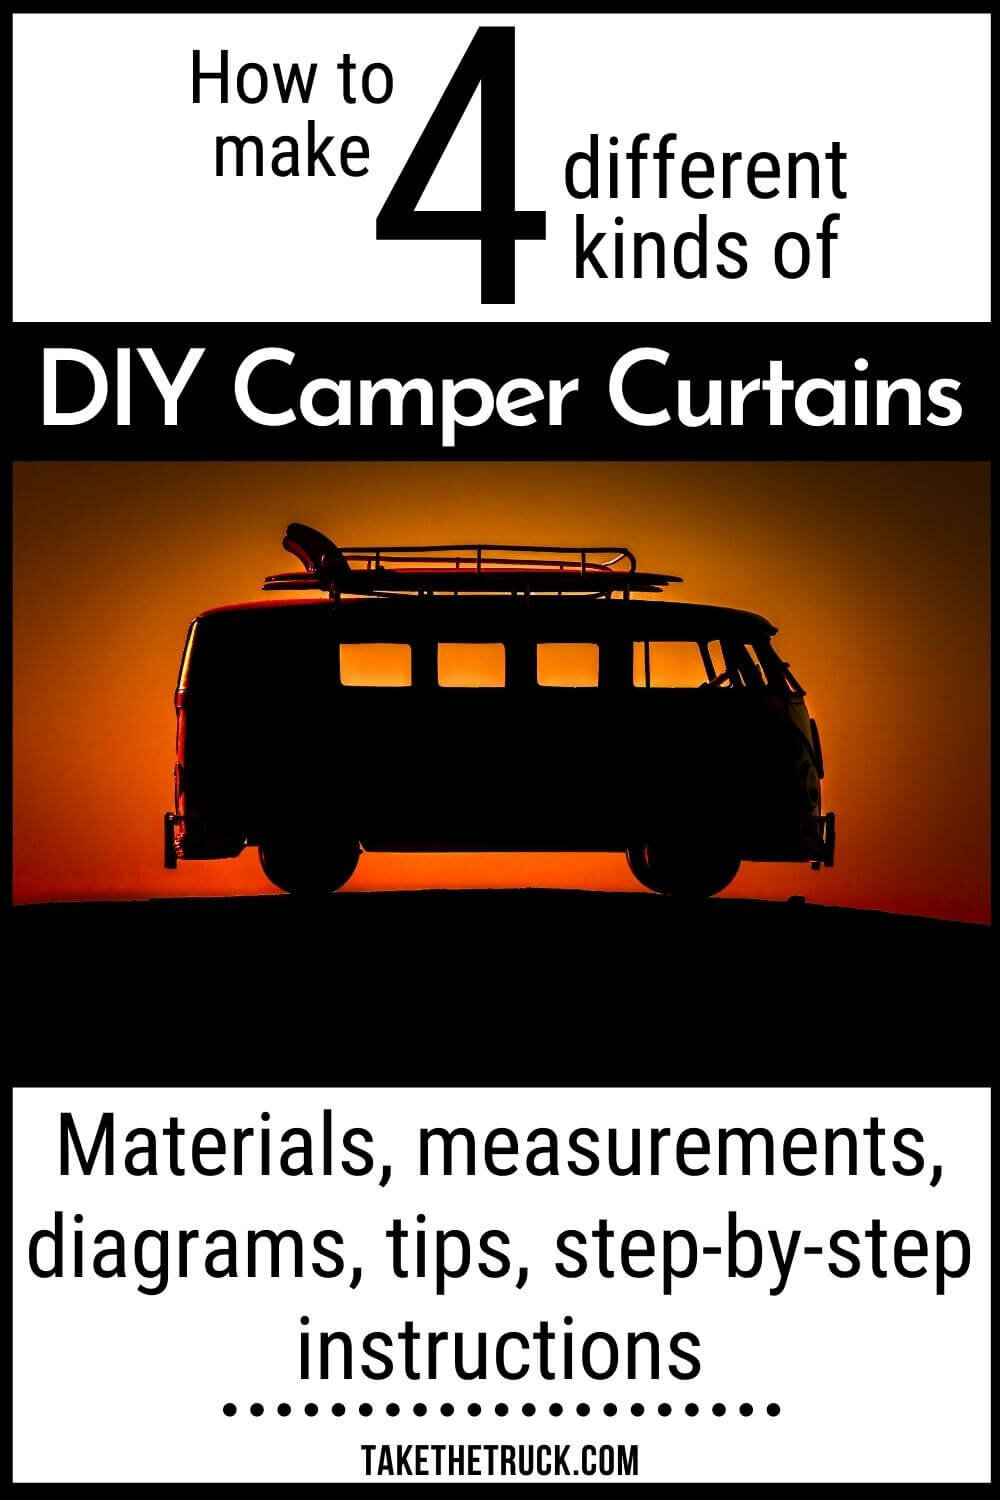
The Complete Guide to DIY Camper Curtains and Window Covers
If you’re wondering how to make camper curtains for your truck shell, car, suv, van, or campervan - you’ve landed in the right spot!
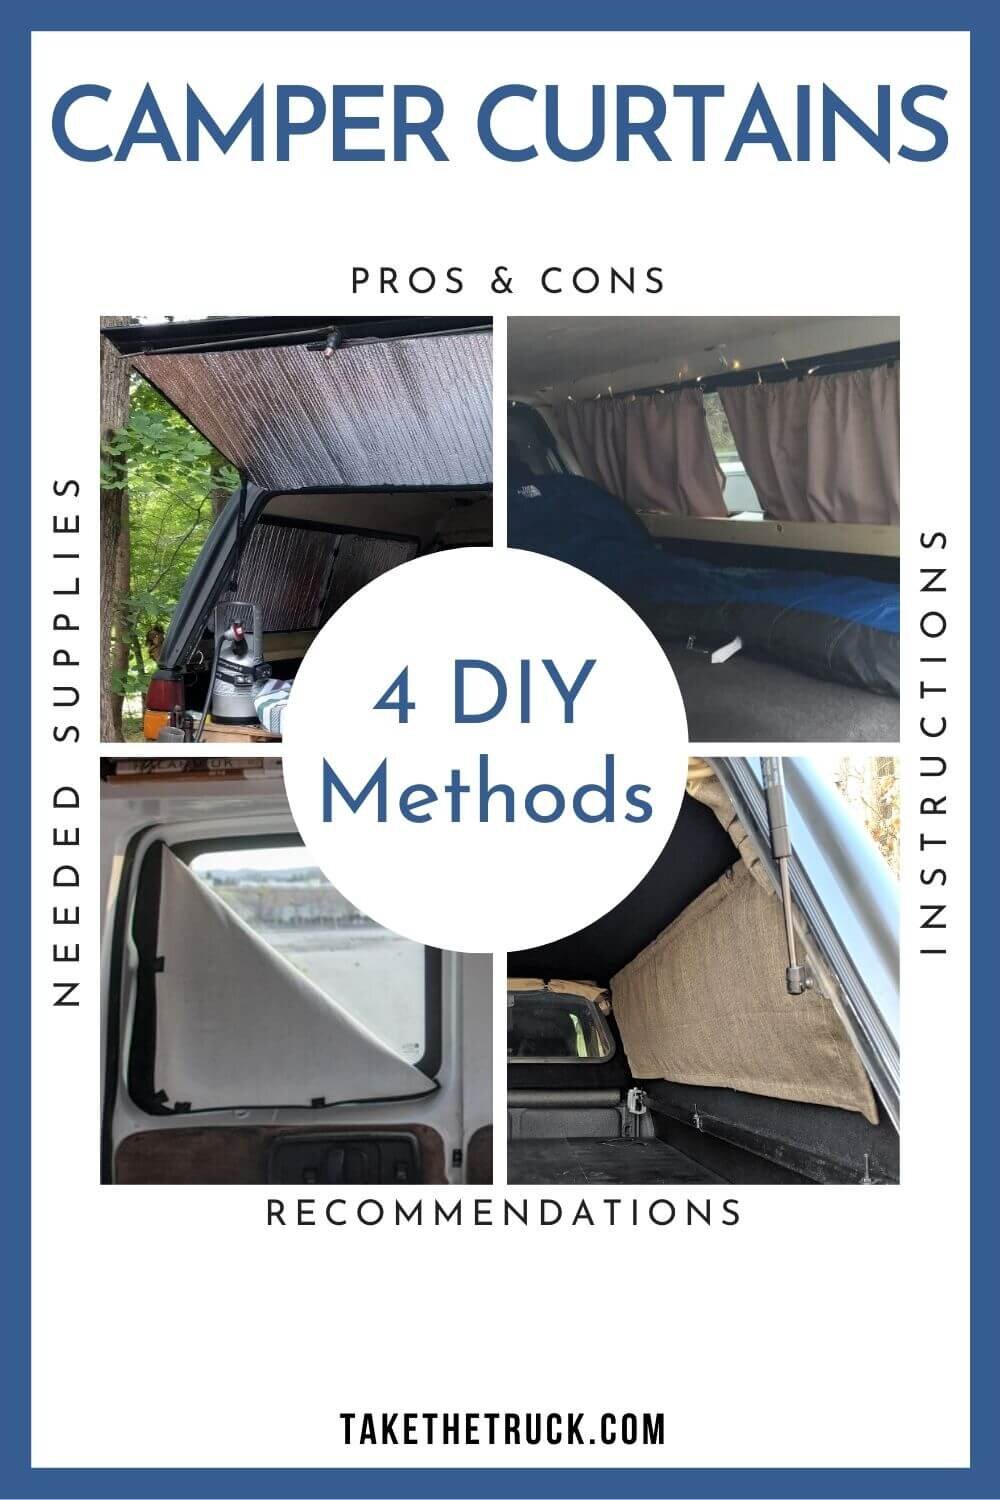
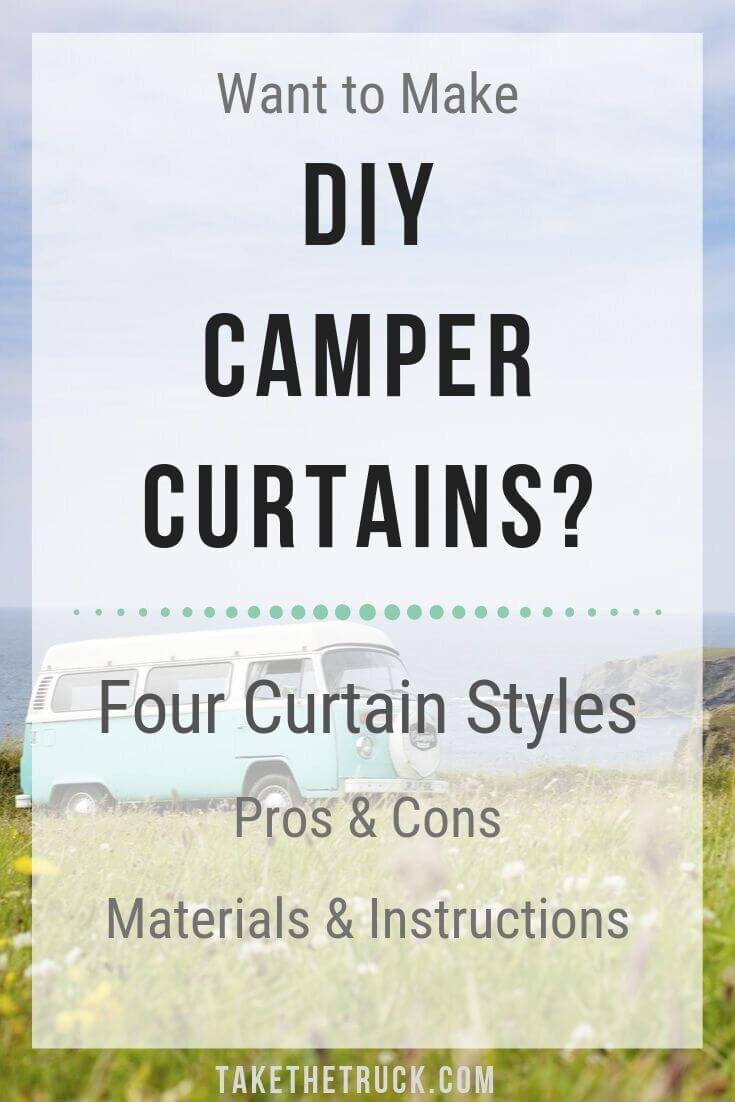
Before making our camper shell curtains, we looked into a lot of different possibilities, and for this post we’ve compiled pros and cons, directions for making, and related tips for 4 different styles of camper curtains or window covers.
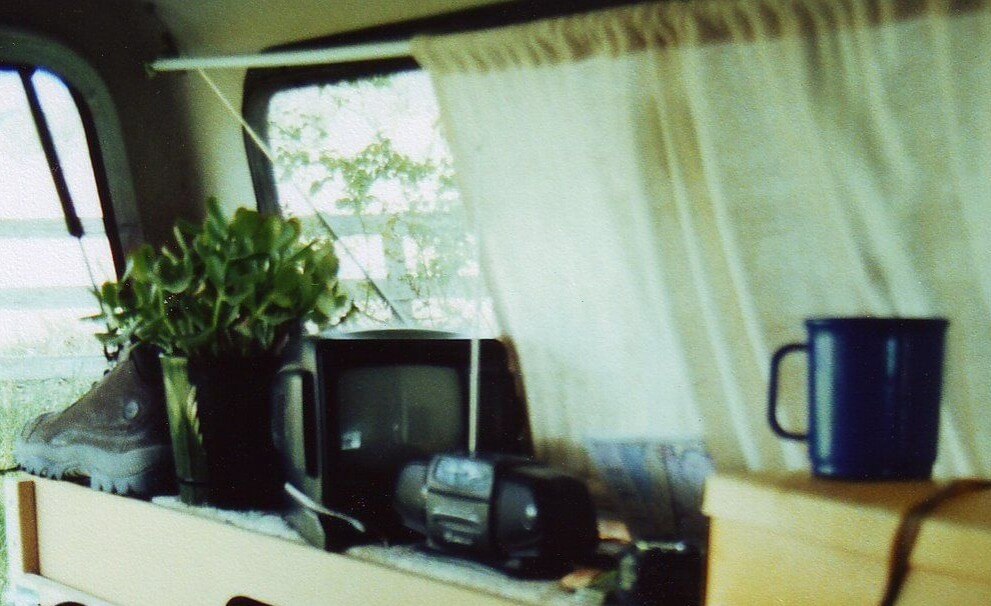
So although we added curtains to a truck shell, these styles of DIY camper curtains can easily be applied to any camper setup.
How To Choose DIY Camper Curtains
A few things to consider when deciding what curtain or window cover is best for your car, van, or truck:
Aesthetics
Your available time
Budget
Sewing machine availability
Function (blackout / climate control / ease of opening and closing)
Knowing what’s most important to you can help your pick between all the different curtain hanging methods and fabric options.
Tips When Buying Fabric:
Price check fabric options. Buying fabric by the yard, re-purposing sheets, or buying premade curtains to cut to size are all options.
For blackout curtains: It is difficult to find blackout fabric with patterns or designs by the yard. However, blackout curtain liner is available by the yard and can be attached to fabric of your choosing. Or purchasing premade blackout curtains and cutting them to size may require less time, effort, and money.
Consider the weight of the fabric and the method you’re using to mount the curtain. Example: Heavy fabric will not stay in place with adhesive velcro.

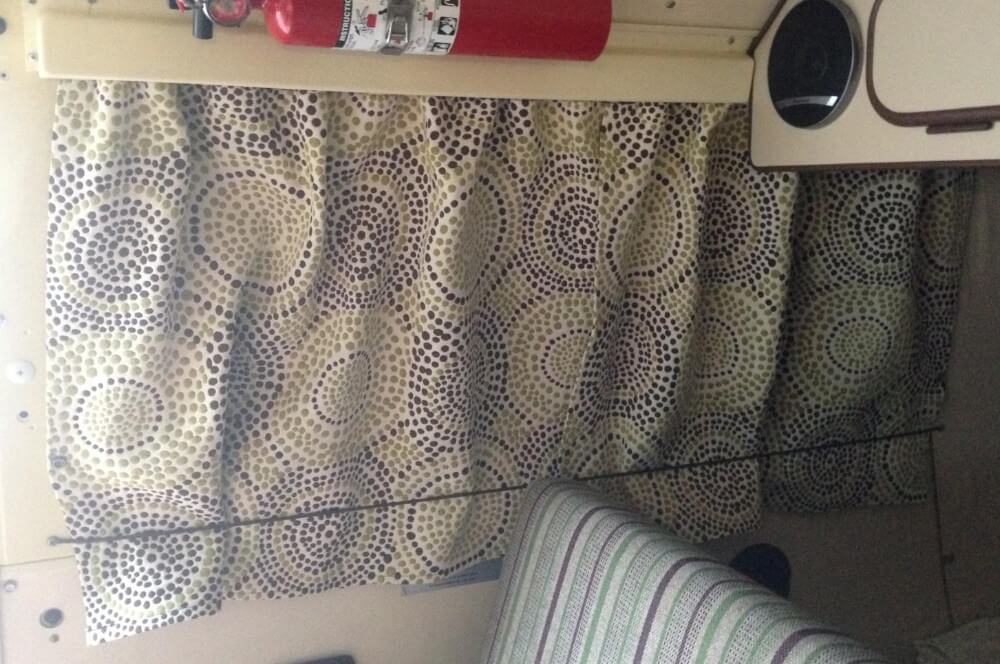
For patterned fabric: There is a top and a bottom to this type of fabric in order to have all your curtains hanging with the pattern going the same way once completed. Keep this in mind as you buy and cut apart your fabric. Also, if your fabric has a distinct pattern, be sure that the pattern is level as you cut your pieces. And (if you’re particular enough to care about this sort of thing) check that the fabric pieces you are cutting will look good together when all lined up in the windows - that the pattern is either continuous or symmetrical from window to window. See image from ethanmaurice.com for clarification!
Wash and possibly iron new fabric before cutting the curtains.
Other DIY Curtain Tips:
Assess whether or not your windows tilt outward at the bottom. Many camper windows do. If this is the case, curtains mounted only at the top as traditionally done will hang straight down into your living space. This will make your space look and feel smaller while letting extra light in, and they’ll get in the way. We’ve got tips on dealing with this below.
Velcro: We recommend opting for sew-on velcro when attaching to your curtains. It’s a stronger bond that won’t wear down over time and then the curtain can be thrown in the washing machine. If needing adhesive, buy industrial strength and make sure you go with lightweight fabric.
Do not use a sewing machine to sew adhesive/sticky velcro to anything - it will gunk up your machine!
If your curtains aren’t held away from the glass and are constantly damp from condensation, watch for mold or mildew over time. Think about needing to occasionally remove and clean them when you’re considering how to mount them.
If you already know the style of DIY camper curtain you’re interested in, skip ahead by clicking on the image:

*(This post contains affiliate links. This means we may receive a small commission, at no additional cost to you, if you make a purchase through a link. See our full disclosure.)
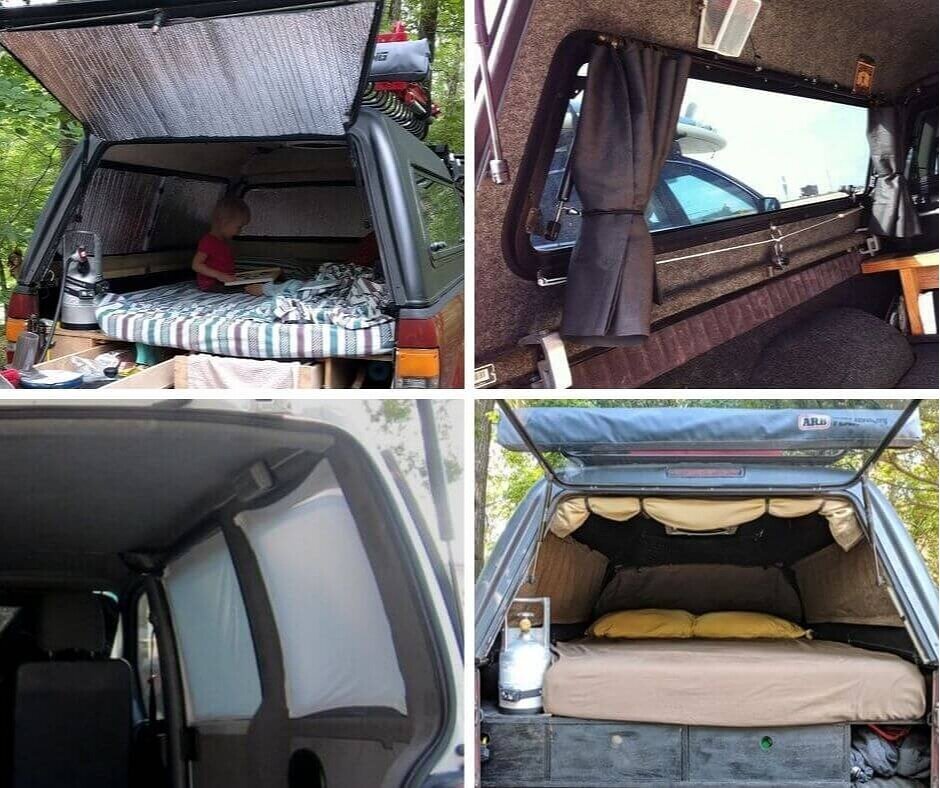
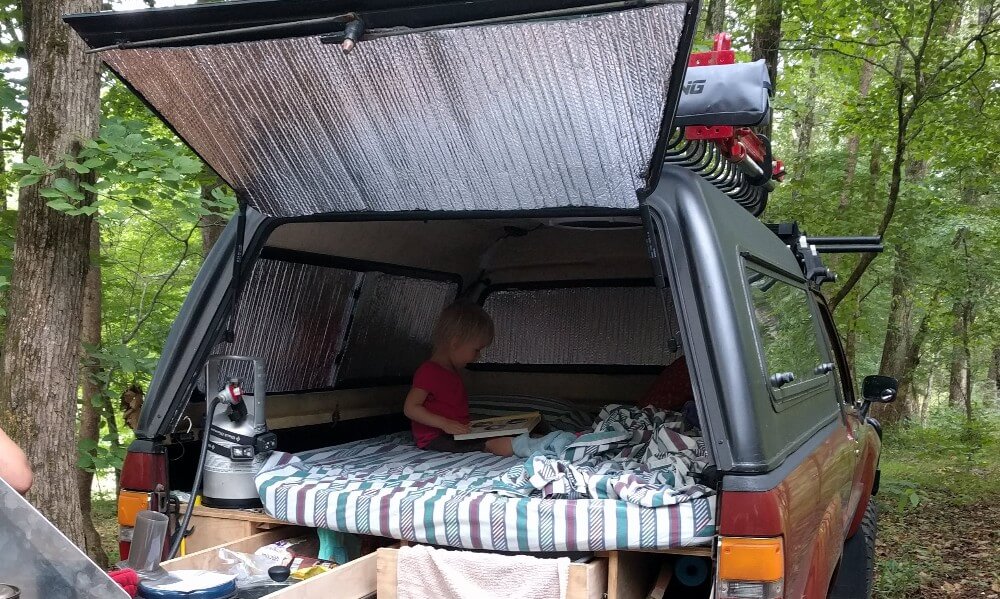
DIY Camper Window Cover Option #1: Reflectix
This product is a reflective window insulation similar to windshield sun visors. You can buy reflectix in different size rolls online or from big-box hardware stores. When choosing this method, you cut the reflectix to the size of the windows and wedge it in the tracks. This is by far the easiest DIY window cover and it’s a really effective insulation.

Pros:
Inexpensive
Quick and easy to do (under a couple of hours)
Insulates from both cold and heat (reflective surface does wonders)
Blackout
No sewing!
No modification to your vehicle or truck shell
Provides complete privacy
Cons:
Aesthetics-not nice to look at from the inside or outside (but!! See Reflectix 2.0 below)
Condensation gets trapped behind and doesn’t get to dry out if you aren’t removing them daily
Must store them somewhere when not in use (we’ve typically slid them under the mattress if possible)
Unable to open part way like a curtain for ventilation or letting some light in
Directions for Making DIY Reflectix Camper Window Covers:
Materials:
basic measuring and cutting tools
roll of reflectix*
permanent marker
maybe adhesive velcro* or clear command hooks* (depending on your windows)
Instructions:
You want the reflectix to wedge in the window track where possible, as this holds the reflectix in place against the window, but not be so oversized that it bows out in the middle. So measure slightly beyond the size of the glass when there is a track it can be wedged into.
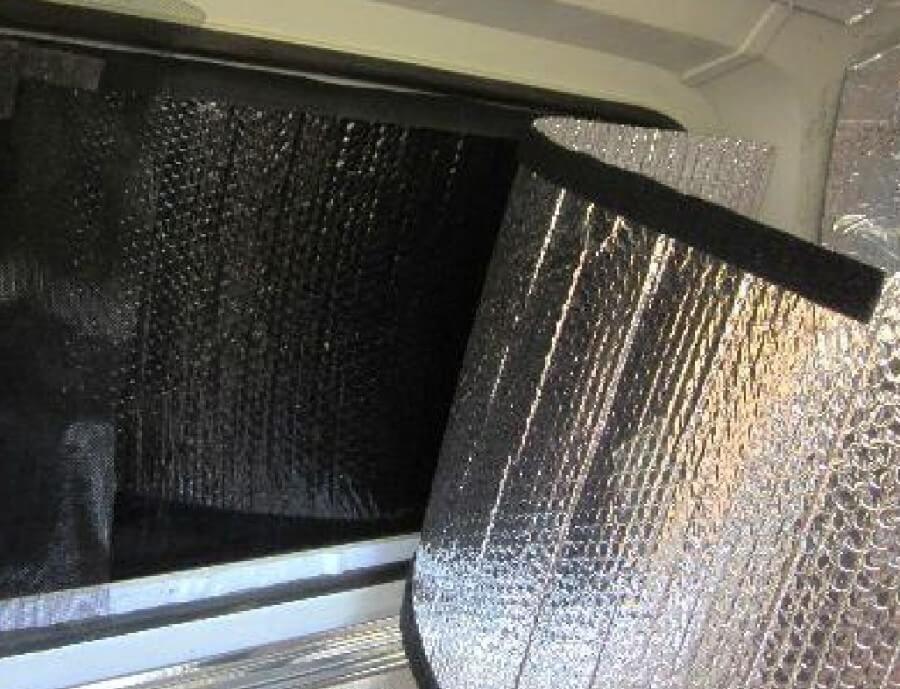
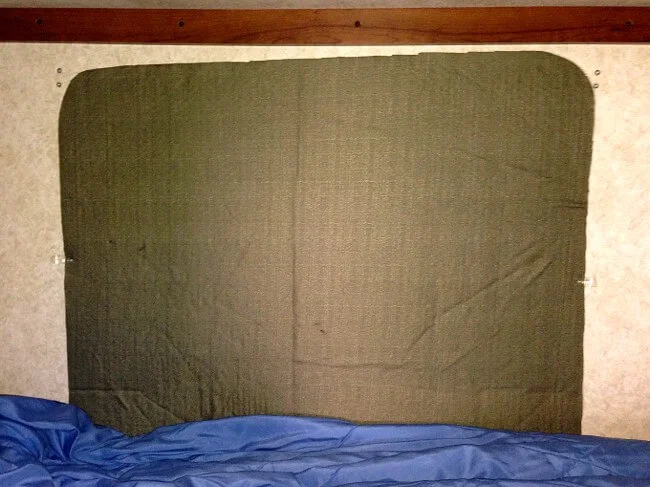
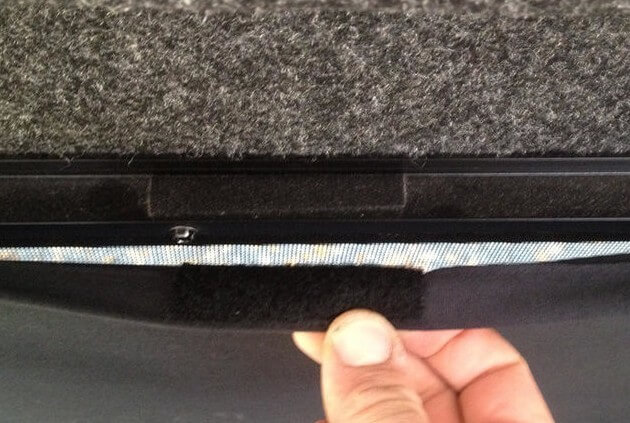
If you can’t wedge the material into your track (because of a screen or maybe there isn’t a track at all), use velcro tabs or strips to hold the reflectix in place around window. Or adhere clear command hooks to the frame and then tuck the reflectix behind them, as Ditching Suburbia did for their dark green window covers in the photo below.
When measuring to cut, write directly on the reflectix with permanent marker. If dealing with rounded frame corners, it’ll be easiest to measure and cut the straight top and bottom first, then wedge the reflectix into the top and bottom tracks before marking the sides and corners.
*Tip* Reflectix oriented one way naturally folds in half when pressure is put on it from the top and bottom (it wants to fold the way it has been rolled up). Oriented the opposite way, reflectix remains more rigid when pressure is put on it from the top and bottom. Figure this out before cutting all your window pieces, because if you cut them oriented the wrong way, they won’t stay wedged in the window frame as expected.
Reflectix 2.0: Cute DIY Camper Window Insulation!
This idea still gives the benefit of being insulating and reflective, budget friendly, blackout, and requires no sewing, but it has a nicer interior look.

Directions for Making Reflectix 2.0:
Additional Materials:
fabric
pinking shears* if you have them, otherwise regular scissors
Instructions:
After cutting the reflectix to size as described above, trace each piece onto your fabric, paying close attention to keeping your fabric’s pattern level if it has one.
After cutting the fabric, use spray adhesive to adhere the fabric onto the reflectix.
To keep the fabric edges from fraying, use colored duct tape around the edge of the fabric, wrapping it around to the back of the reflectix “hot dog style”. Try to use one long piece along each of the four sides, and then use shorter pieces to make the corners look seamless.
DIY Camper Window Cover Option #2: Velcro Fabric Covers
For this option, you cut fabric to be the same shape and size of your window. You then use strips of velcro on the fabric or magnets in the hem to attach it to your existing vehicle headliner or onto your window frame, creating simple and effective window covers, as shown in this instructables photo posted by cstewart000.

Pros:
The window covers are held tight against the window frame all the way around, so even if your camper sides tilt outwards you don’t have extra work to do
Can be nearly blackout
Can look aesthetically pleasing if you find fabric you like
Cons:
Sewing (probably) required
When the window covers are removed, you’ll need a place to store them
Directions for Making DIY Camper Window Covers:
Materials:
fabric
velcro
this package* is sew-on on both sides
this package* has adhesive on both sides
this package* has sew-on loop/soft side to go against your fabric and adhesive hook/scratchy side to go against your camper
OR magnets (rare earth magnets are super strong!)
this pack* would be good if you already have magnetic surfaces around your windows
this pack* would be good if you need to add magnetic surfaces (adhesive set and double the magnets)
if using lightweight fabric, this style* would be strong enough
sewing machine and basic sewing kit (maybe!)
OR fabric fuse* for your hems
basic measuring and cutting tools
pinking sheers* (not really necessary)
Instructions:
First, decide if you’re attaching the fabric to your window frame or to your vehicle headliner.
Attaching to Window Frame- You’ll use both the hook/scratchy and loop/fuzzy sides of the velcro, one sewn onto the fabric and the other adhered onto the frame. Going this route can allow you to use a heavier weight fabric.

Or use magnets sewn into the hem of your curtain as shown in the image from vanspiration - Zach’s 2003 Chevrolet Express. You may find a magnetic surface like your window frame screw heads, or you could use adhesive magnets against your vehicle (linked in material list).
Attaching to Headliner- You’ll sew the hook/scratchy side of velcro onto your fabric and attach that directly to the headliner around your window. Use lightweight fabric, as velcro to headliner isn’t as secure of a bond. Test beforehand to be sure it is good enough to hold up the weight of your fabric!
Then measure your fabric, extending your measurements either out to your window frame if attaching there, or all the way to your headliner if going that route. Don’t forget to add an inch or so to each measurement to account for the hem (plus you’ll need extra for the tip given below).
Last, attach the velcro or magnets. There should be no need to cover the entire perimeter of your window or fabric with velcro. Applying short strips every foot or so should do the trick.
*Tip* Position the velcro on your fabric ½ inch in from the edge rather that right up against the edge of the fabric. When mounted, this creates a cleaner look, as both the velcro pieces and the frame will be covered by the fabric. See images below.
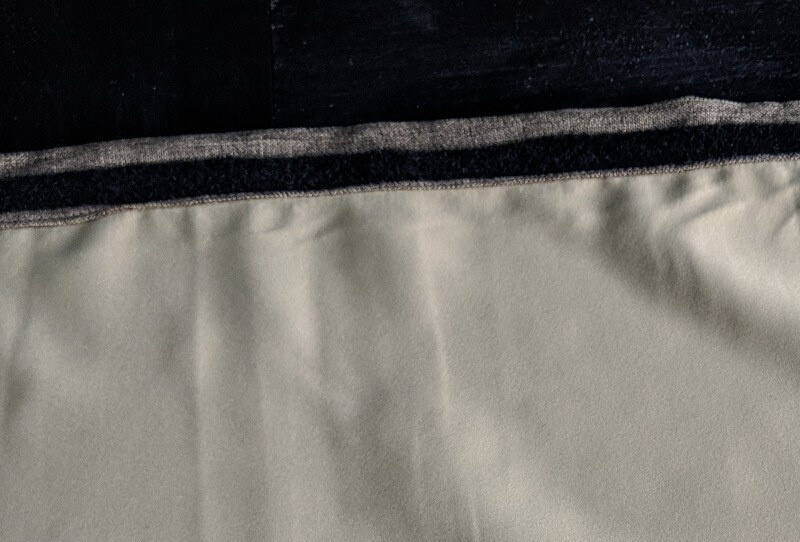
Velcro attached 1/2 inch down in order for the curtain to cover the window frame once mounted.

Comparison of camper curtain covering the frame vs not when mounted, depending on the velcro placement on the fabric.
No Sew Option! Use really lightweight fabric along with adhesive velcro. And rather than sewing your hems, look into using fabric fuse.
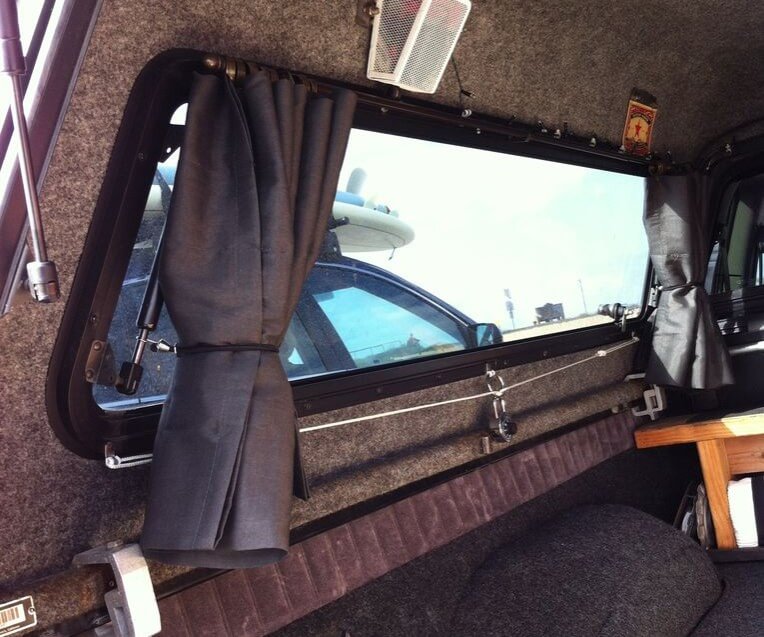
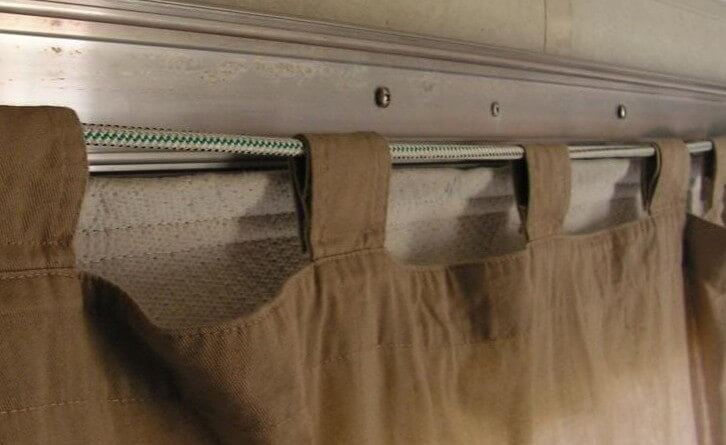
DIY Camper Curtain Option #3: Hanging Fabric from a Rod
This diy camper curtain idea has a lot of variation. Basically, you mount a rod of some type across the top of the window, attach your fabric so that it can slide to open and close, and then find a way to keep the curtains from hanging straight down into your living space if you are dealing with tilted windows like in a truck bed camper shell. The example below was submitted on instructables.com by azukibean.

Pros:
Can partially open curtains to let in some light
No taking curtains up and down and storing elsewhere
Can be a quick and easy project
Can be inexpensive
Cons:
Extra step needed if your windows tilt outwards at the bottom
Sewing is required
Some makeshift rods won’t allow the curtains to smoothly open
Directions for Using a Rod for Camper Curtains:
Materials: Vary too greatly to be able to list, depending on how you create them! Many people make these using materials primarily found around their house, but a few links are given throughout.
You’ll have to decide on:
a curtain rod
fabric that will work well with the rod, and
how to hold the curtains taut against your vehicle side if you have windows that tilt outwards at the bottom.
Instructions:
1. Curtain Rod Options:
Some of these options would allow the curtains to slide open and closed more easily than others. They also vary in price and greatly vary in their overall look on the scale of DIY to professional.
Many people drill new holes into their structure to mount a rod; we don’t recommend doing this. There are a few other options that don’t require new holes being drilled:
Another option is to use the existing screws at the top corners of your window frames to add rod mounting hardware. If your curtain rod needs to stretch a wide expanse, like in a truck shell camper, you may also need to mount hardware in the middle of the window for extra support.
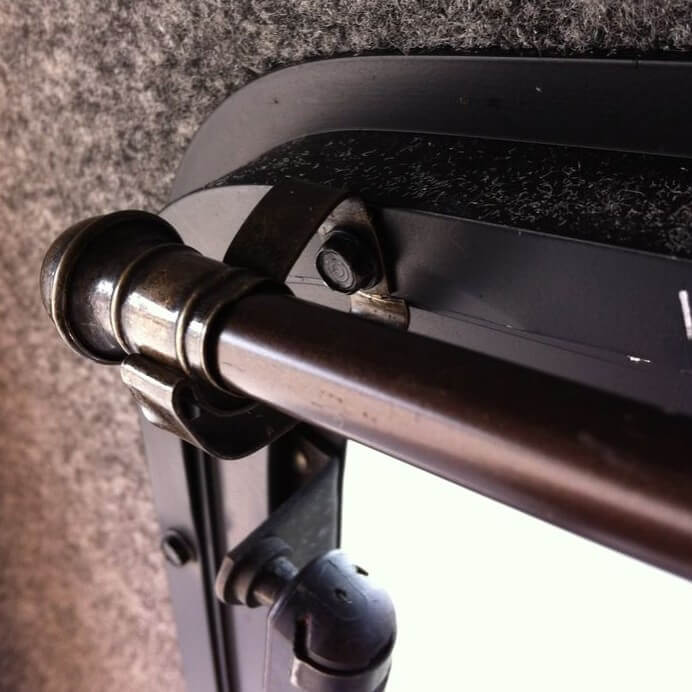
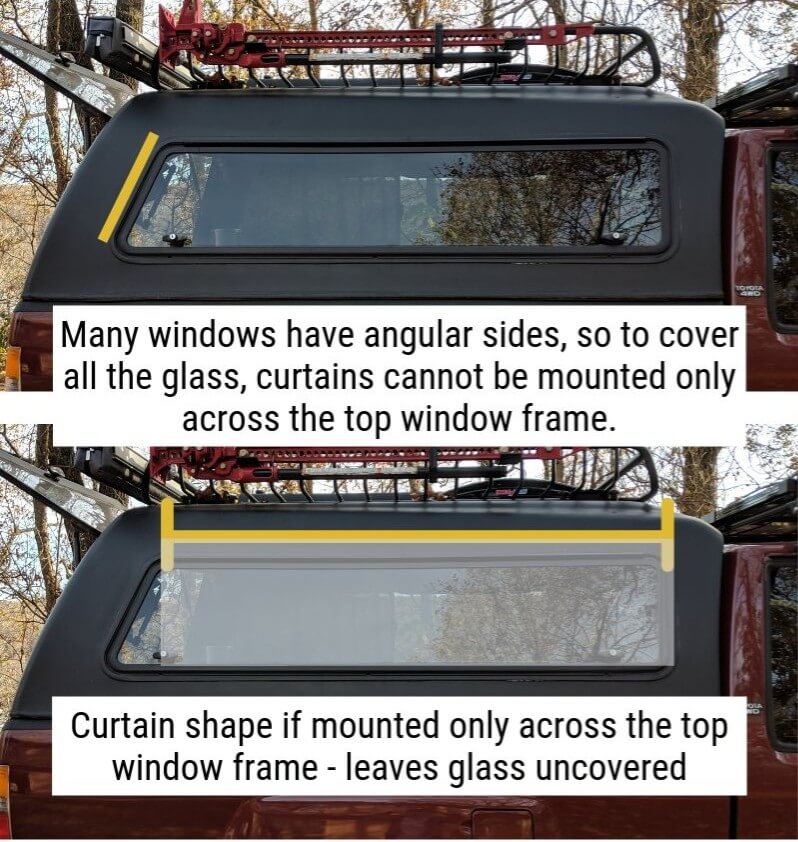
Unfortunately, using the existing screws from the top corners of the window frame will not work well if you have angular-shaped windows, as your curtains may not hang to cover all the glass. See diagram below.
2. Curtain Hold Down for Tilted Windows:
If your windows are tilted out like they are in many campers, your curtains will hang straight down into your living space. Here are a few different ways to address that problem:
Don’t forget! You may need to have your fabric or at least ring clips mounted to the rod before securing your rod to your vehicle!
3. Fabric Options to Pair with a Rod or Makeshift Rod:
See the Tips for Choosing Fabric Section at the top of this post if you haven’t already done that.
When measuring your fabric, don’t forget to account for all hems, as well as extra length if you opt to create a tunnel at the top (and possibly bottom) of the curtain to slip the curtain rod through.
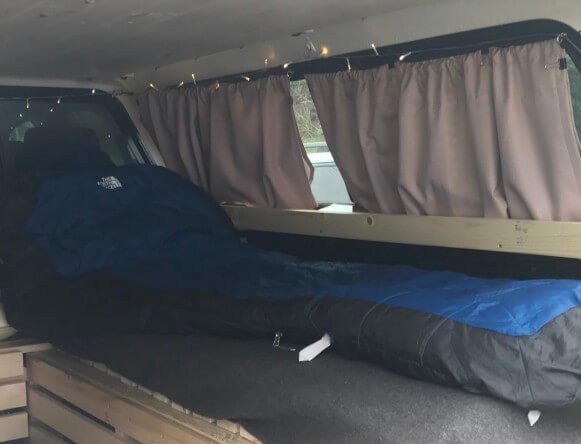
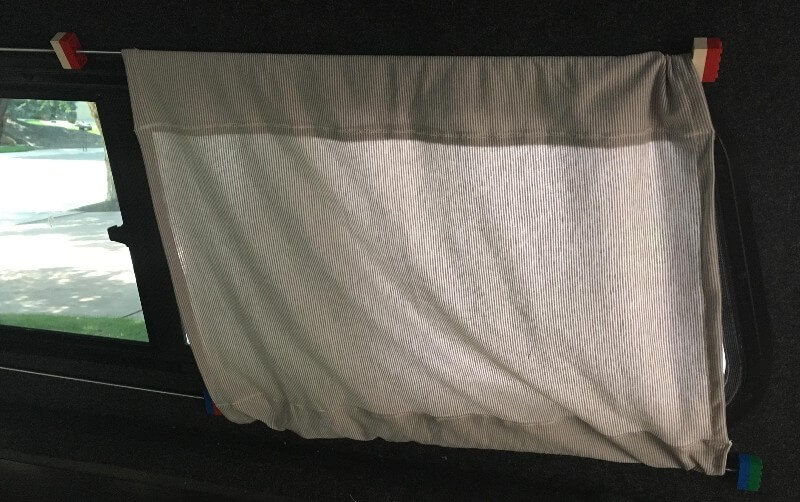
Some DIY curtain designs will cause the curtain to hang from the rod a little too low, as shown below. This doesn’t look great and lets light in.
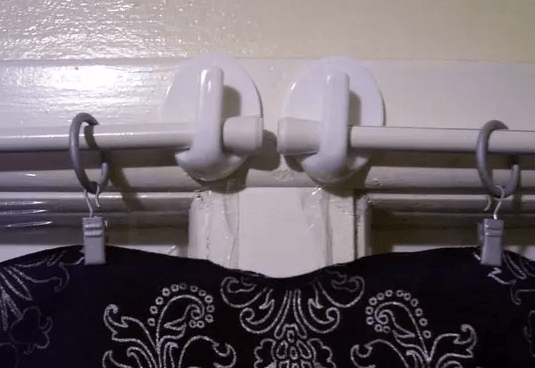
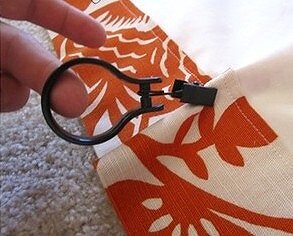
Using curtain ring clips* as the photo from houseoftheworths.com below shows can fix this problem (while also helping everything slide more readily). To do this, pinch the back of the fabric about two inches down from the top and clip the clip there, both hiding the clip and raising the top of the fabric to cover the window frame.
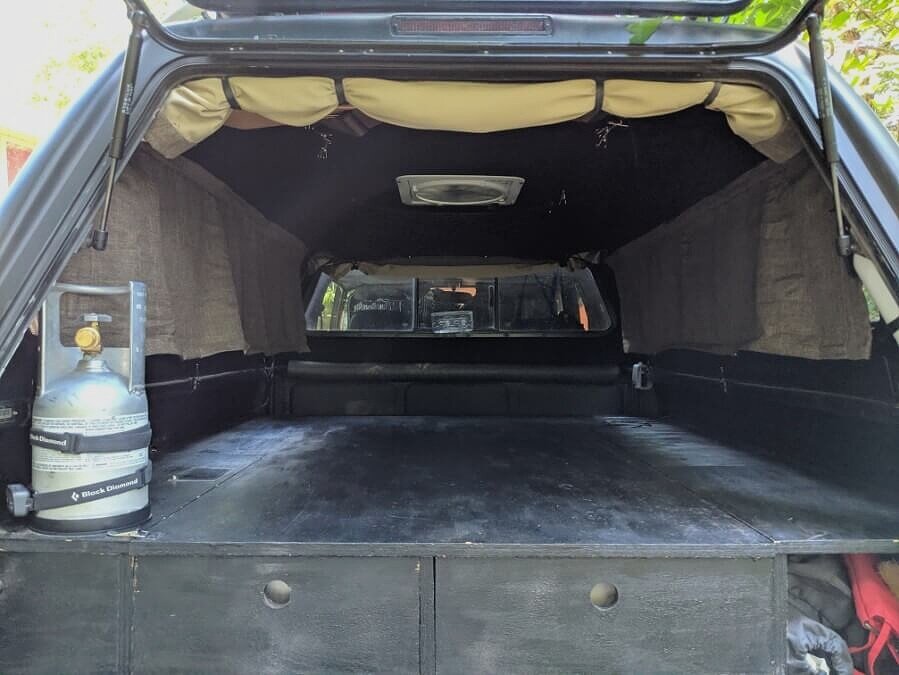
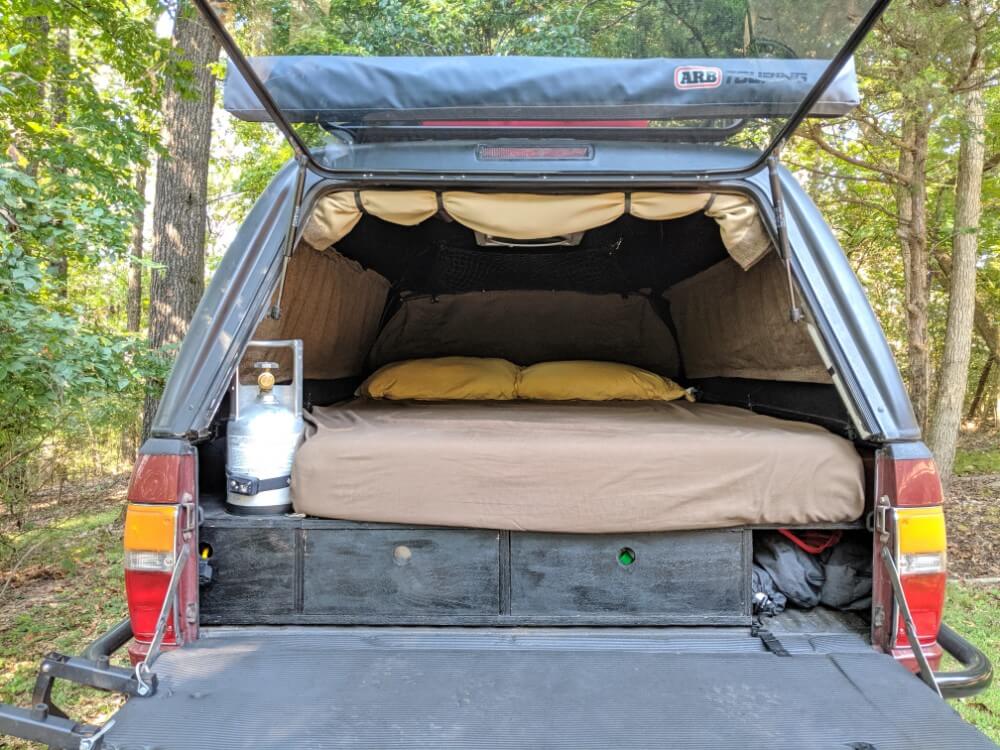
DIY Camper Curtain Option #4: Roll Up Curtains
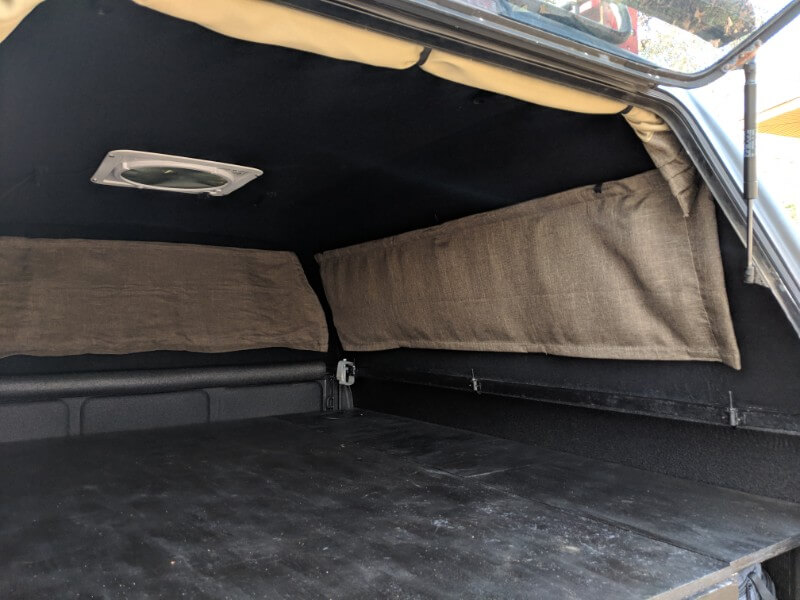
This is where we landed on making our truck camper curtains! They’re mounted across the top of the window frame using velcro, and bundling straps are held in place behind the velcro. Magnets are sewn into the bottom hem, which attract to the bottom window frame screws to hold the curtain against the side of the vehicle. The curtains can roll up and be secured in a bundle across the top of the frame using the bundling straps.

Pros:
Blackout
Curtains don’t get removed so don’t have to be stored elsewhere
Look nice whether up or down, interior and exterior view
Cons:
Extra steps needed if your windows tilt outwards at the bottom
Sewing required
Cannot partially open the curtains
Instructions for Making DIY Roll Up Camper Curtains:
We’ve written a very detailed post titled How To Make Roll-Up Camper Shell Curtains with step-by-step directions on how to make these curtains for your camper. Although its about our truck shell camper, the directions can be used to make diy car, suv, van, or campervan curtains.
Additional Products Related to DIY Camper Curtains:
In our research on the perfect camper curtains, we ran across a few products and ideas that we don’t have firsthand knowledge on, but thought worth mentioning:
UV Fabric Protector* - spray on to keep your curtains protected from the elements a little longer
Insul Bright* - polyester lining that helps maintain temperature
Bubble Wrap* - against the windows behind curtains to help insulate
There are certainly other ways to rig up DIY camper curtains, but hopefully these ideas and details can get you started in a direction that will work for you and camper windows! Happy DIYing, and happy camping!
As always, thanks for reading, and please SUBSCRIBE!
Related Posts:
Pin Me for Later!
We’d appreciate you sharing this post with others by using the share buttons below!