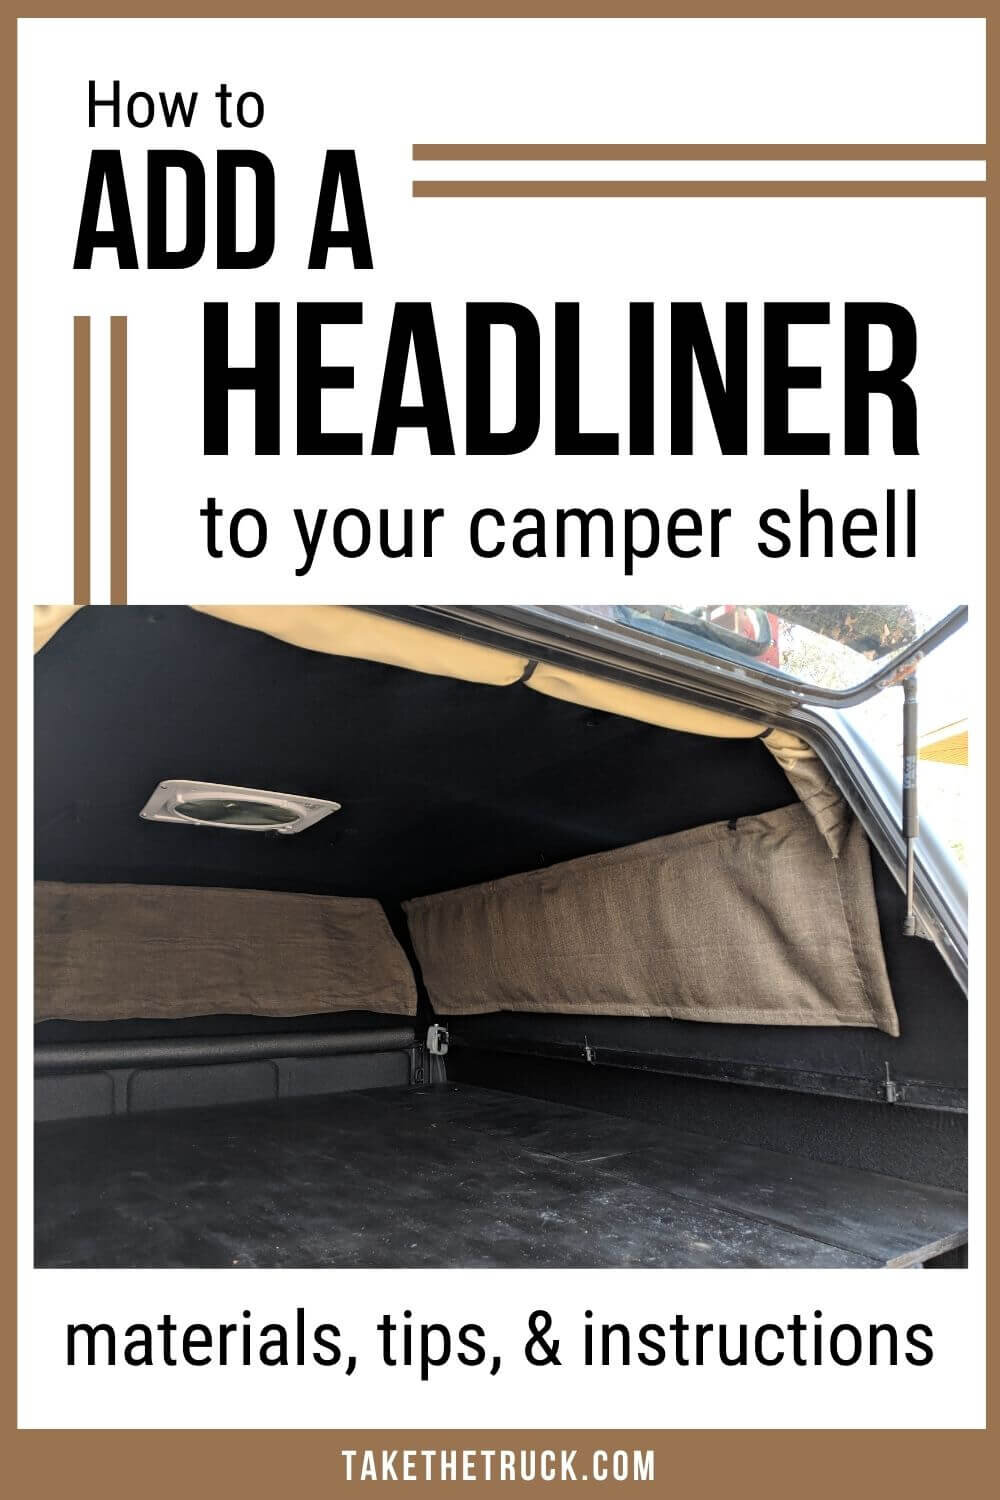
DIY Camper Shell Liner
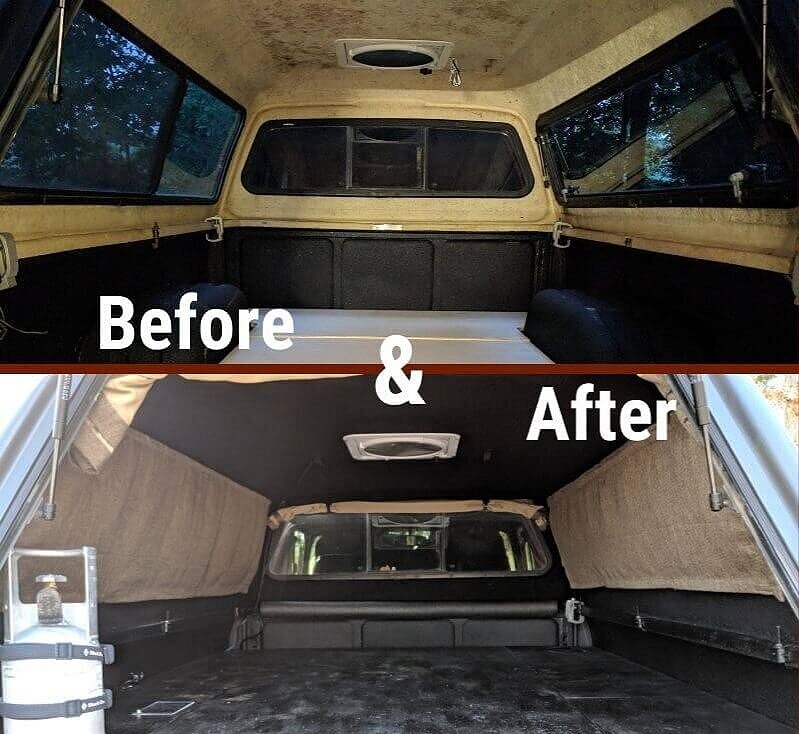
In this post we’ll walk you through the process of adding a camper shell liner to your truck cap, truck topper, or canopy.
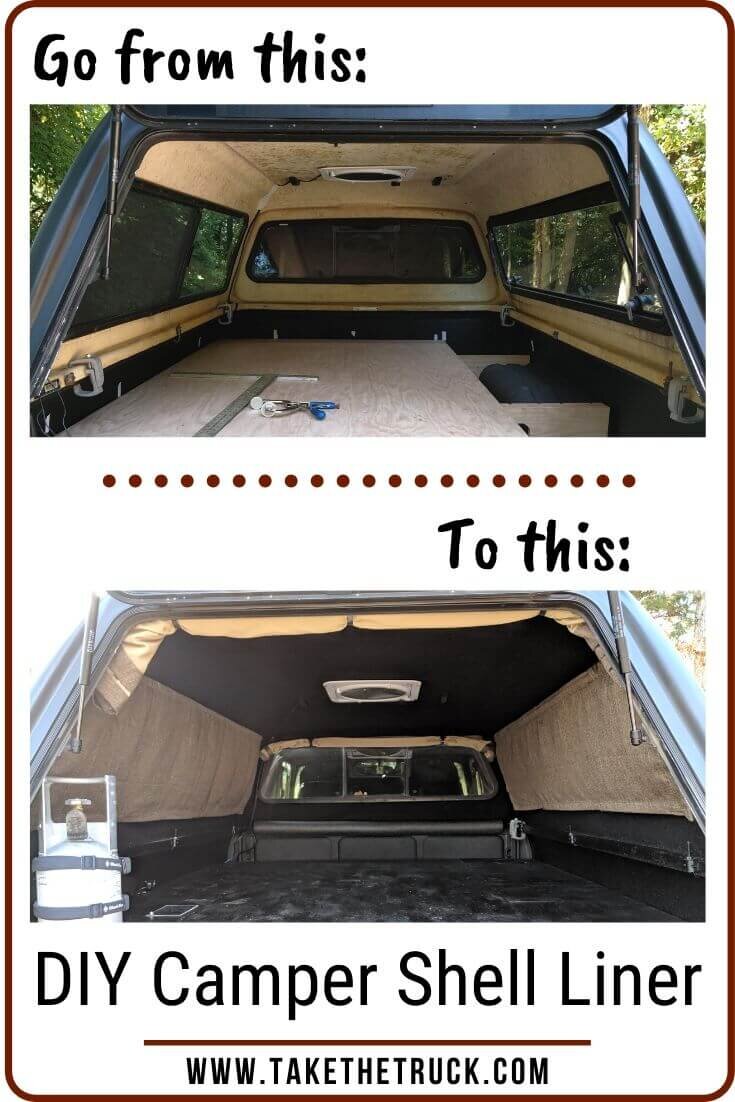
If you’re like us and you went bargain hunting for the perfect camper shell to start your truck camping build, odds are the one you found may not have that nice factory carpeted liner - ours didn’t and we had a hard time finding any info on DIY camper shell liner installs - hence this post!
Benefits of Installing a Camper Shell Liner
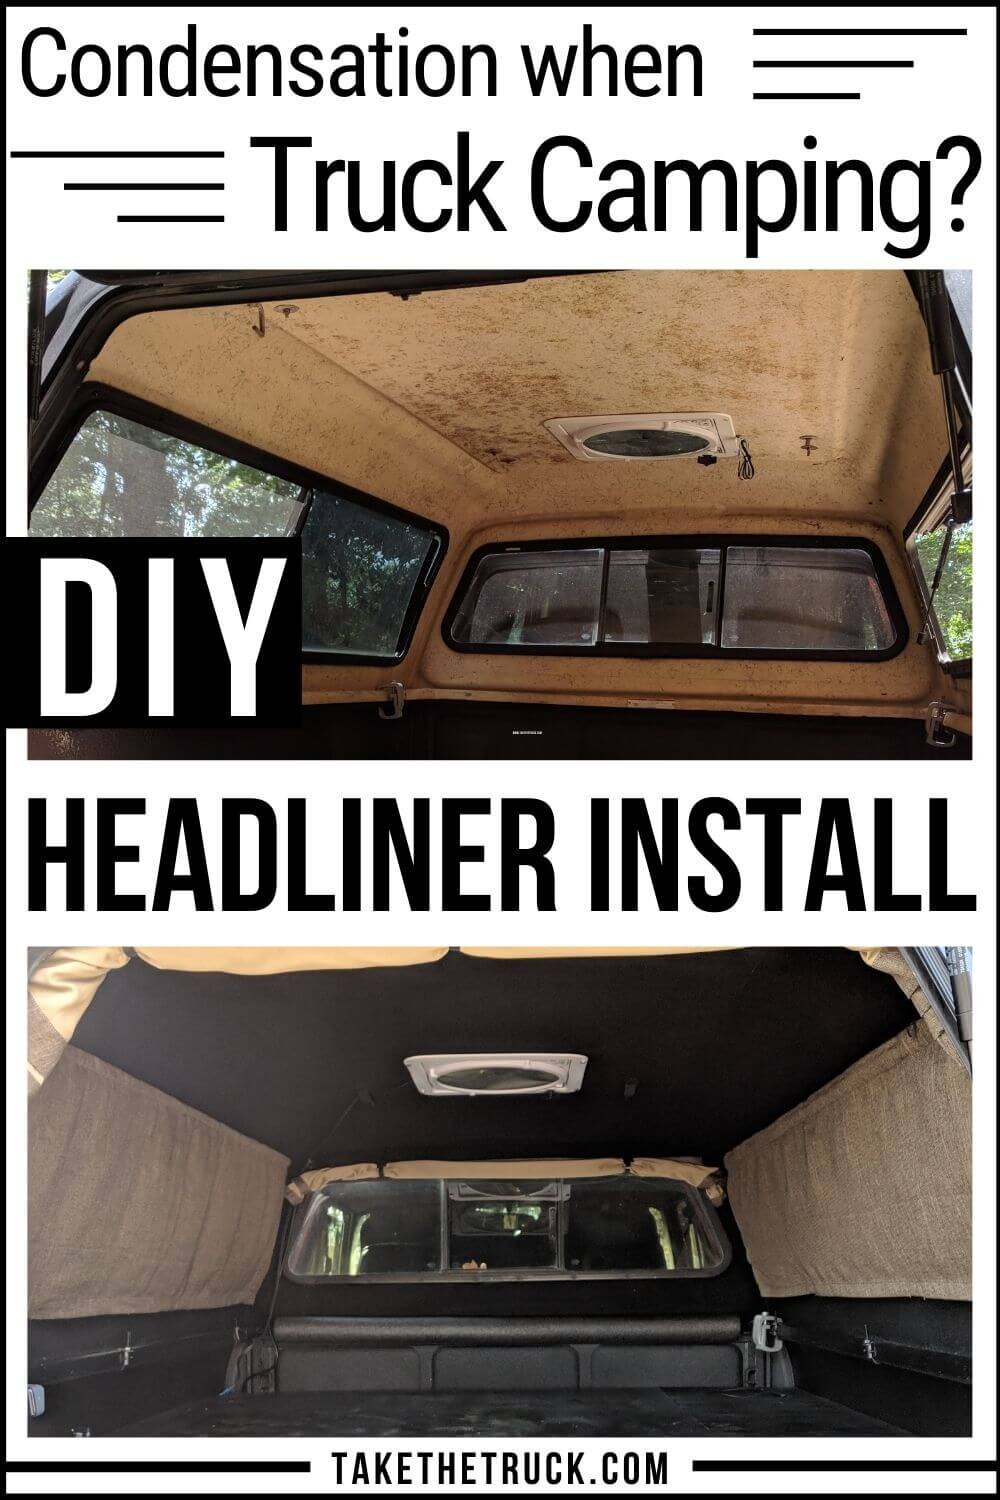
Camper shell liners help (significantly) to mitigate condensation when cold weather camping, otherwise condensation will drip down on your sleeping bag, face, and gear while you’re sleeping.
Plus a camper shell liner helps with insulating the shell, and helps cover up the ugliness and sharpness of exposed fiberglass.
Materials Needed for the Install
*(This post contains affiliate links. This means we may receive a small commission, at no additional cost to you, if you make a purchase through a link. See our full disclosure.)
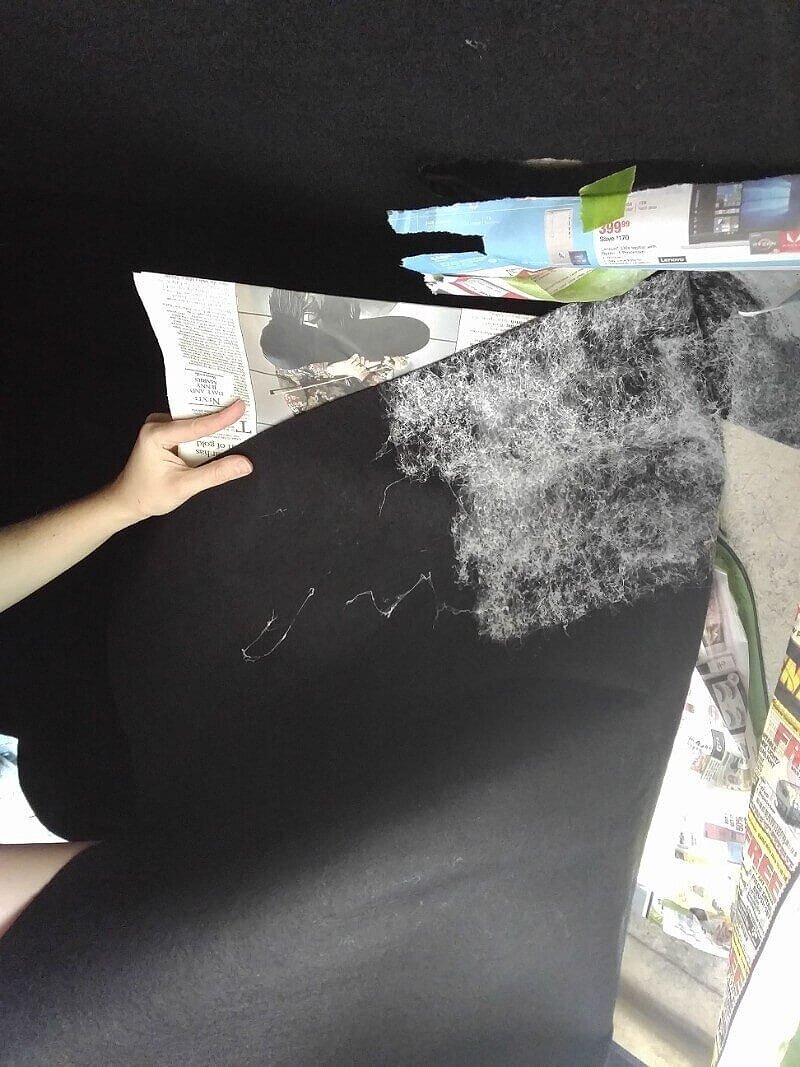
Felt/Carpet Liner* (2 rolls) - this specific speaker carpet we landed on was great to work with, it’s light-weight and stretches well
3M Hi-Strength 90 Spray Adhesive* (3 cans)
Newspaper (for masking)
Paint Respirator* (to protect from the fumes of the adhesive spray)
Scissors
Exacto Knife
Steps to Install a Camper Shell Liner
STEP 1: Remove the Camper Shell (if possible)
Installing a camper shell liner would have been SO much easier if we could have taken ours off the truck before tackling this project. But at the time we had too much gear hard-mounted to the shell and we didn’t want to uninstall everything to remove it.
Once removed, you can flip the camper shell upside down and have easier access, better visibility, and better ventilation.
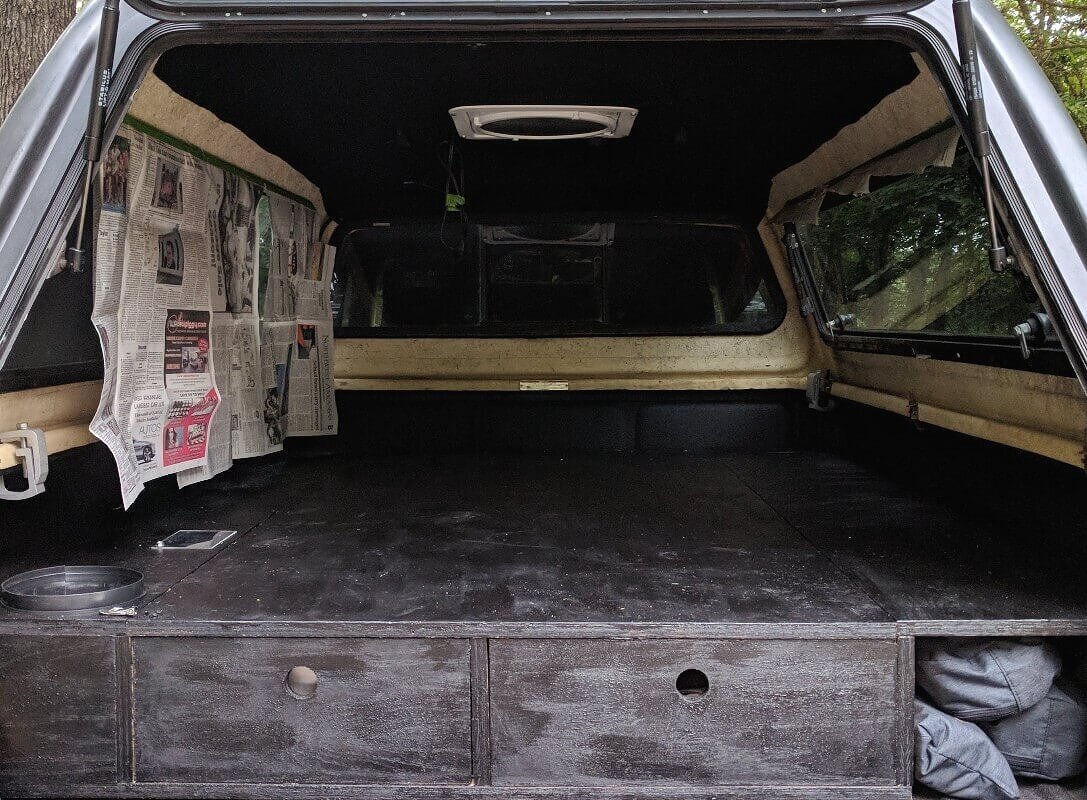
STEP 2: Clean and Prep Your Camper Shell

You’ll want to remove as much dust and grime as possible from the interior surface of the camper shell using soap and water. (But we didn’t spend too much time or energy on this step).
Then allow it to air dry completely.
Then you’ll want to mask off windows & frames - as you would with any painting project - to protect them from the spray adhesive.
STEP 3: Measure For Your Liner
Now it’s time to measure and cut your camper shell liner into manageable sections. We recommend cutting the liner into a total of four sections if possible:

1. Center / Ceiling
Begin your measurement at the top of the hatch window and extend it down the length of the ceiling. Measuring and adhering this way will prevent you from needing narrow strips of the camper shell liner above the hatch window.
Note: If you have a wider full-size truck bed, you may have to use 2 sections of liner with a seam in the center to cover this wider surface
2. Front (Cab Facing)
For now, you’ll measure for one solid piece (from corner to corner), rather than trying to cut strips to fit around the sides of the window.
3. Driver’s Side
Again, measure a solid piece and you’ll cut the window out of the center later during installation.
Be sure to measure all the way up to the side of the rear hatch window frame.
4. Passenger Side
Same as Driver’s Side, one solid piece.
Again, be sure to measure all the way up to the side of the rear hatch window frame.
By including the few inches of fiberglass that are around the sides and top of the hatch window into the side and ceiling measurements, you’ll get all the fiberglass covered with fewer strips and pieces.
Be sure to add 4-6” to the length and width of these cuts to make sure you have plenty of material to work with. It’s easy to trim the excess off once it’s adhered, plus you’ll want some overlap of the 4 sections of liner.
STEP 4: Begin Applying the Camper Shell Liner
When applying the camper shell liner, there will be some degree of just figuring it out as you go because each camper shell has its own window layouts, configurations, etc.
First, a few general installation notes and tips:
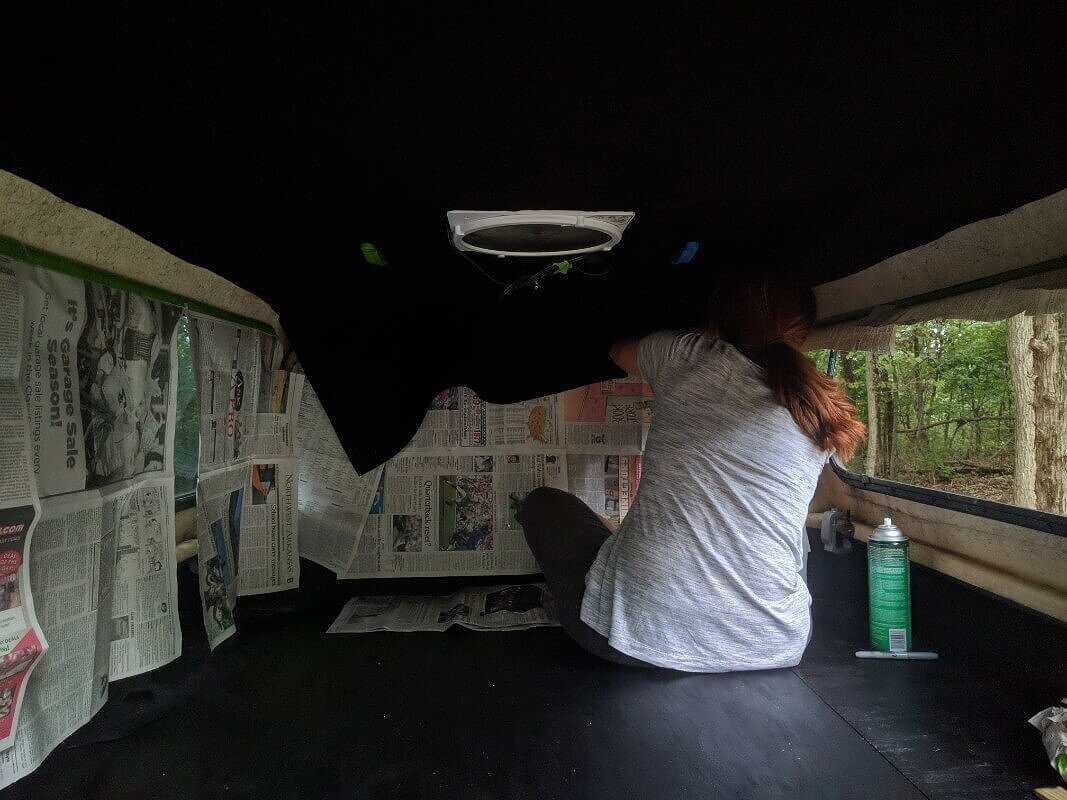
Best done with two people: one to spray sections and the other to press them evenly
Wear the paint respirator - the fumes from the spray adhesive are serious!
Once the spray adhesive is applied, it is very difficult to move and reapply
When applying up against a window frame, push the liner with adhesive up against the fiberglass all the way up to the edge of the frame with a straight edge (making sure the edges of the liner are adhered once you’ve cut off the excess)
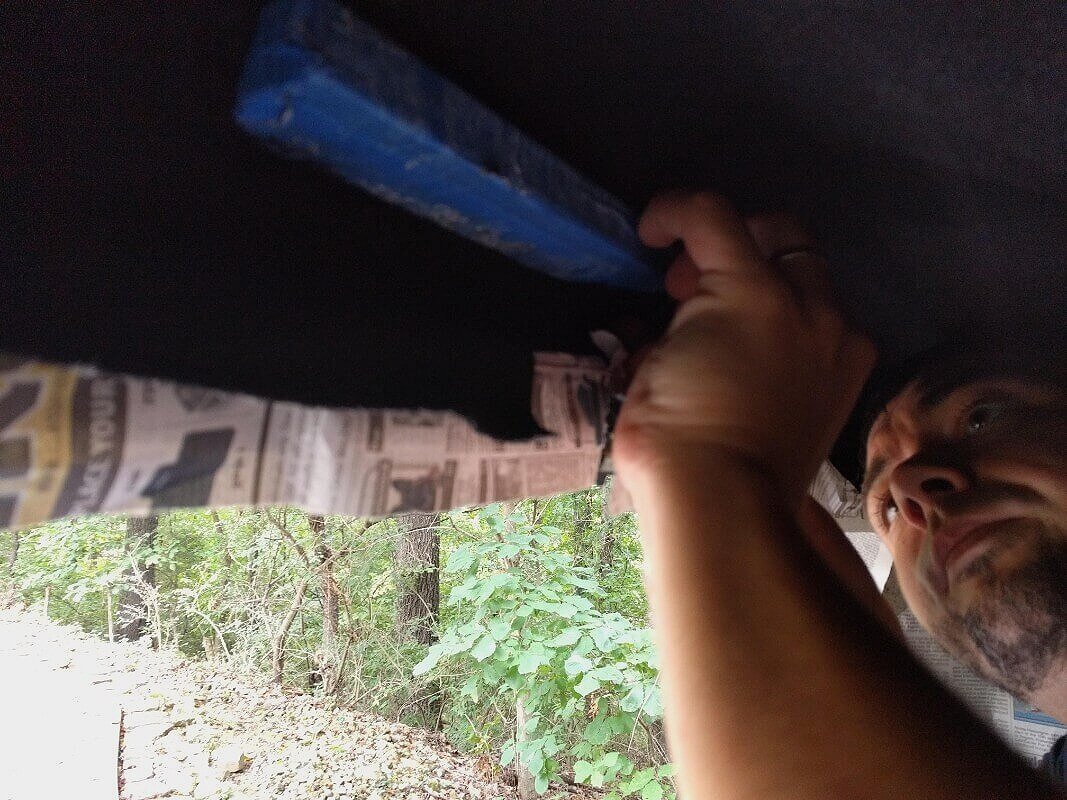
Remember to protect the liner you've already adhered from the “back spray” as you are spraying other sections. We just taped up and draped newspaper to protect these surfaces
Work in small sections so that you maintain control over the large pieces of felt liner
Spray each piece, one section at a time, working from the middle out, smoothing wrinkles and pushing them out towards the edges as you go
Note: If you get small creases, don’t get discouraged - the black liner material hides a lot of imperfections
We made a couple mistakes when folding over the corners or cutting wrong with the exacto knife and fiberglass was showing through. We simply cut a small piece of the black liner, sprayed the back, and stuck it over the exposed fiberglass. Because the shell stays rather dark and the liner is black, it is difficult to even find these patches and imperfections.


A few specifics on how we installed the camper shell liner:
Start with the Center/Ceiling section towards the front cab-facing end of the camper shell. Begin applying the adhesive on both the camper shell and back of the camper shell liner in small sections. Then press the back of the liner to the shell and smooth it against the camper shell.
Continue this process, working your way back towards the hatch, and keep the section as square as possible as you work, until the entire Center/Ceiling section of the liner is adhered to the shell.
This section should be adhered all the way to the top of the hatch window frame before cutting off excess. We were so generous with our measurements that we were able to use this ceiling piece down part of the sides of the hatch window as well.
Next, adhere the Driver’s Side and Passenger Side sections working from the top downward. We went right over the masked off windows and then used an exacto knife and scissors to cut the liner out and around the window frames as we went.
These side sections should extend and wrap around to the edge of the rear hatch as well as overlap the center/ceiling section at the top.
Finally, adhere the front cab-facing section working once again from the top-down and overlapping the Driver’s Side, Center/Ceiling, and Passenger Side sections. And similarly to the other sides, we went right over the masked-off window and used Scissors and an Exacto knife to cut out the window and frame.

Now you can remove any masking material, trim away excess liner material, and celebrate having your new camper shell liner installed!
All-in this project took us about a day with two people, and it has held up great - far exceeding our expectations. But if you have any questions be sure to drop a comment down below, we’d love to help!
As always, thanks for reading, and please SUBSCRIBE to get blog updates!
Related Posts:
Pin these headliner install instructions for later!

We’d appreciate a share by clicking the icons below!