Master the Art of Using a Camping Espresso Maker

Sometimes, when you’re camping you need caffeine. Maybe you hiked The Mount Whitney Trail the day before and those 6100 ft of elevation gain are hitting you like a freight train. Maybe it’s 4am and you want to catch the sunrise on Cadillac Mountain. Or maybe you just want to putter around your campsite like a tweaker for an hour.
In any of these scenarios, camping espresso is one of the best delivery methods for that morning dose of much needed caffeine. But it does take the right camping espresso maker and some practice to master. This guide will compare the three best camping espresso makers, and how to use them to make a perfect cup of espresso every time!
*(This post contains affiliate links. This means we may receive a small commission, at no additional cost to you, if you make a purchase through a link. See our full disclosure.)
The Best Camping Espresso Makers
A high quality camping espresso maker creates a very concentrated shot of coffee by forcing hot water through finely ground coffee at an average pressure of 7 to 10 bars (or the equivalent of appx 101-145 psi).
These models stand out as some of the best camping espresso makers out there - offering a reliable, compact, and portable way to make your highly concentrated espresso while camping!
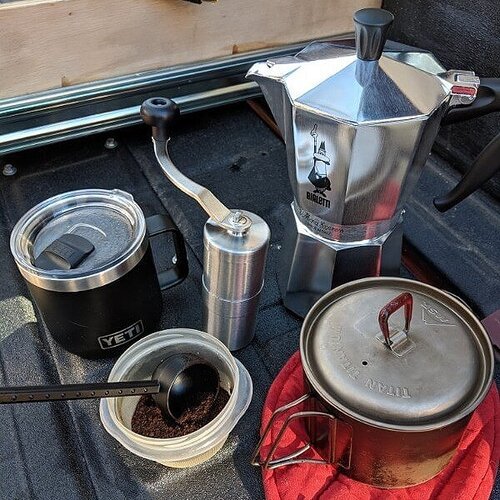
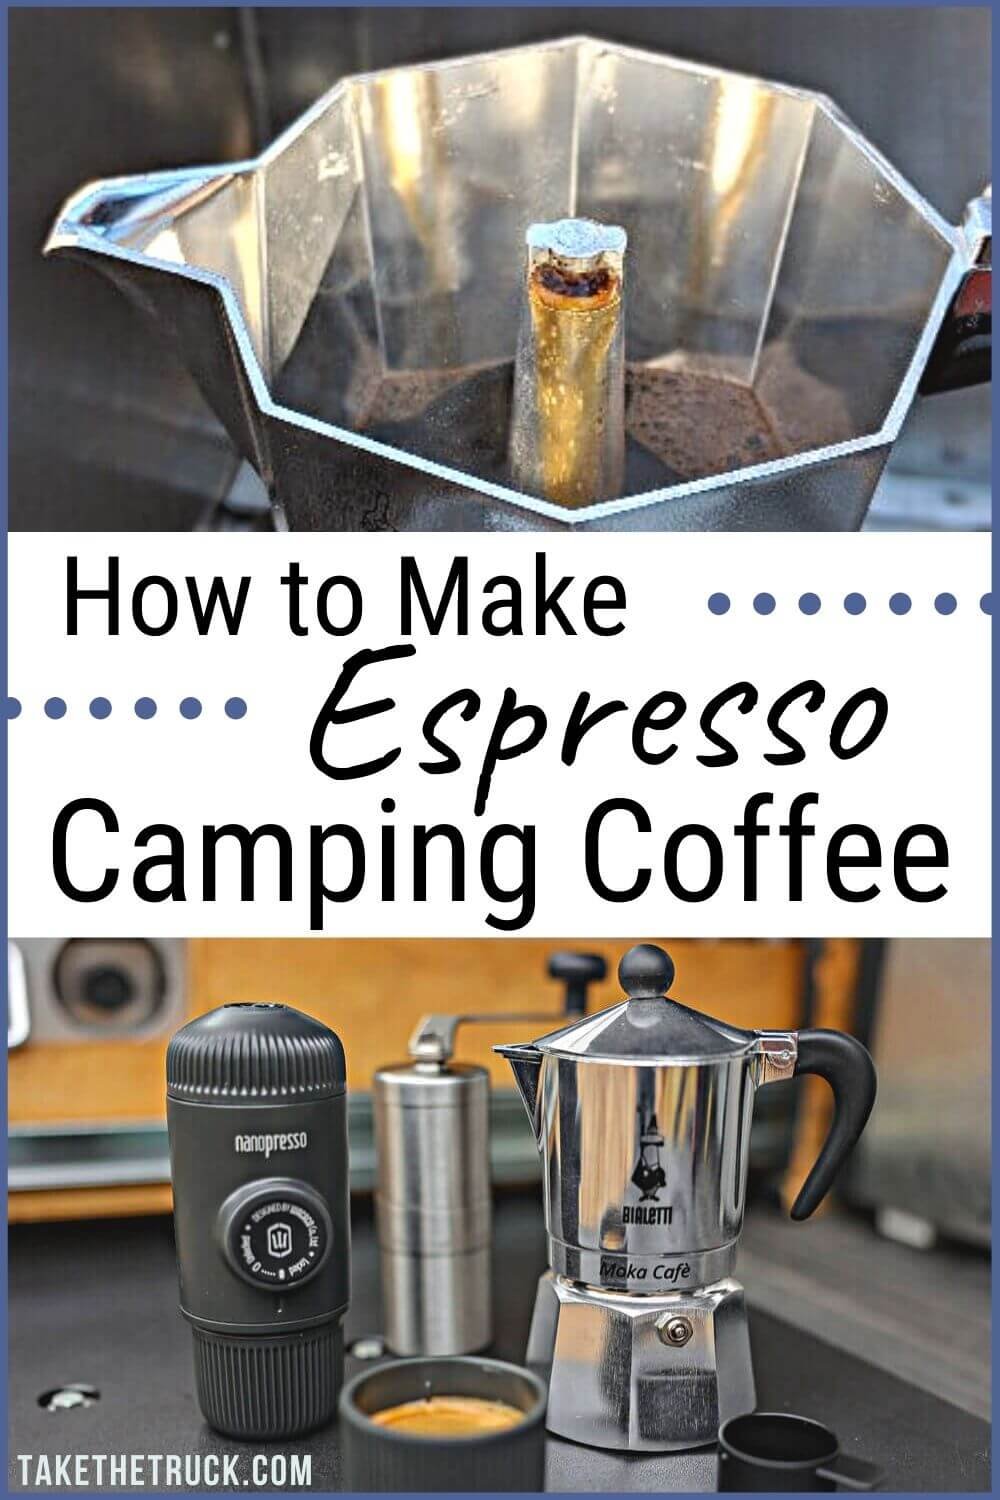
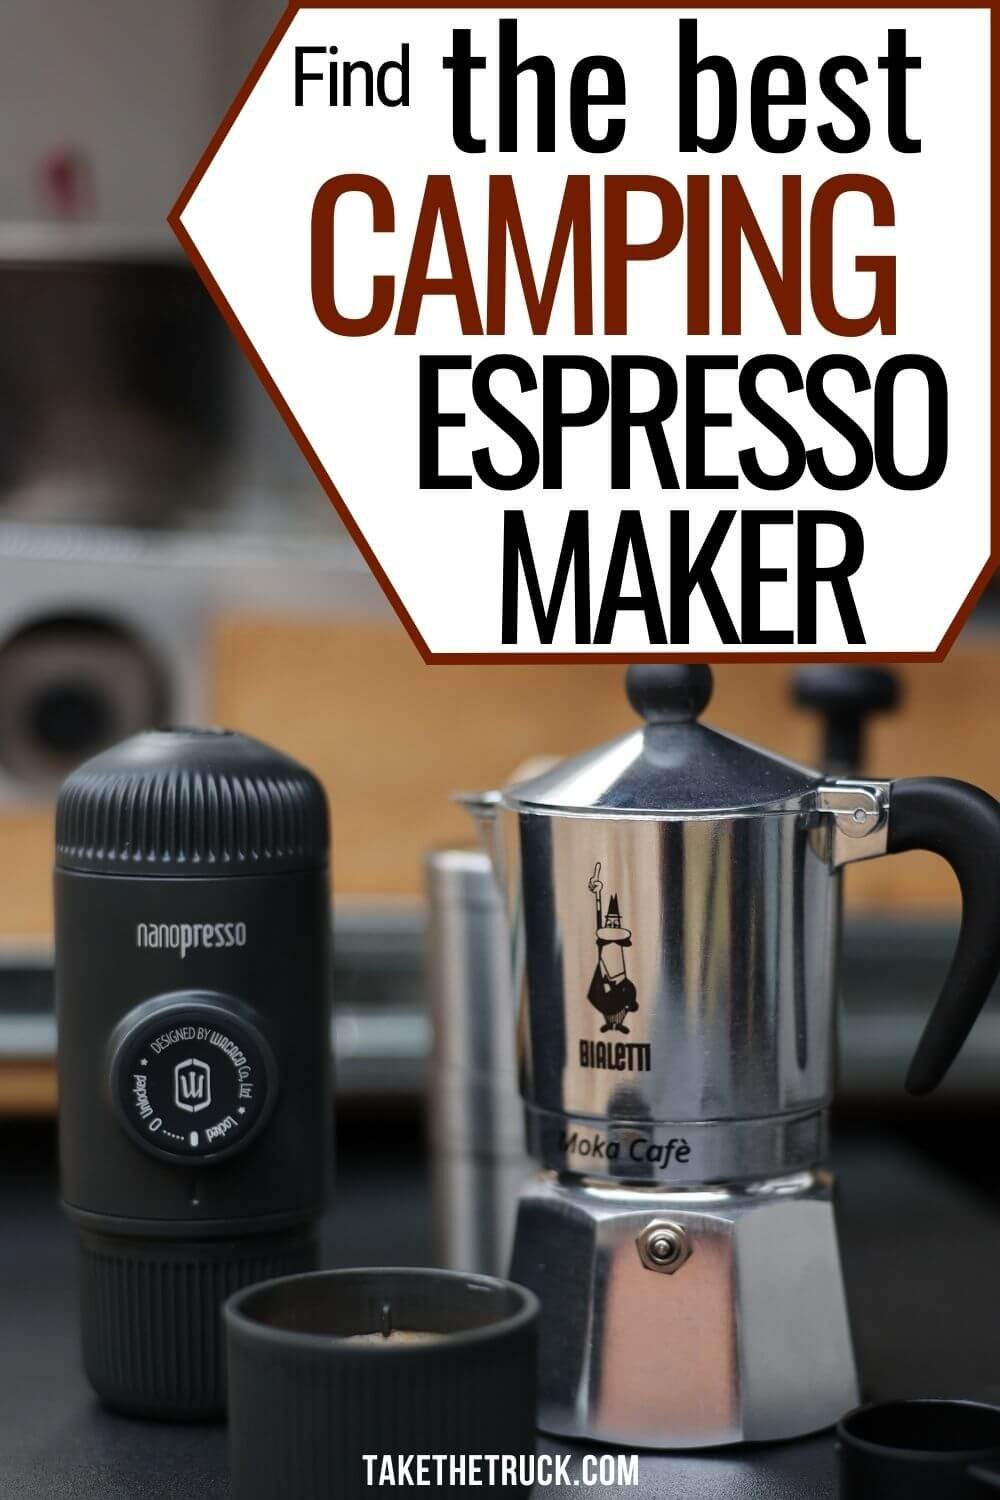
Bialetti Moka Pot Camping Espresso Maker
The Bialetti Moka Pot is the gold standard of camping espresso makers and has been in use for almost a 100 years with 1, 3, 6, 9, and 12 cup sizes available (though honestly, if you need that much espresso...you may have a problem).
It’s our personal favorite way to make espresso while camping due to its durable design and simplicity.

GSI MiniEspresso Camping Espresso Maker
The GSI MiniEspresso is an excellent alternative to the Moka Pot camping espresso maker, as it packs down smaller and includes a double-walled stainless camping mug and travel case. The spout height can be a limitation if you prefer to use a taller camping mug though.

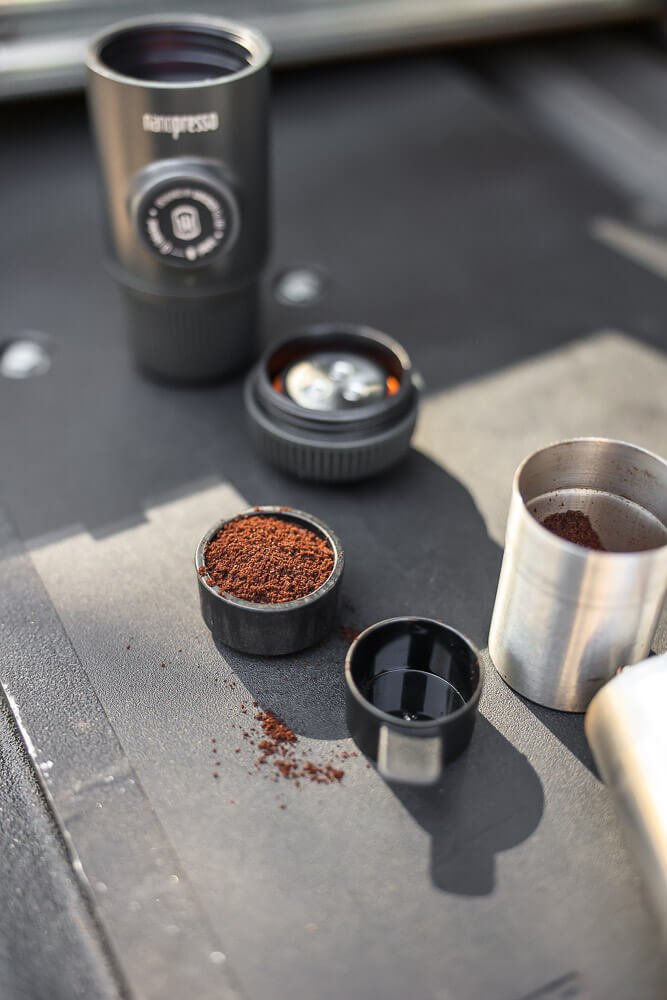
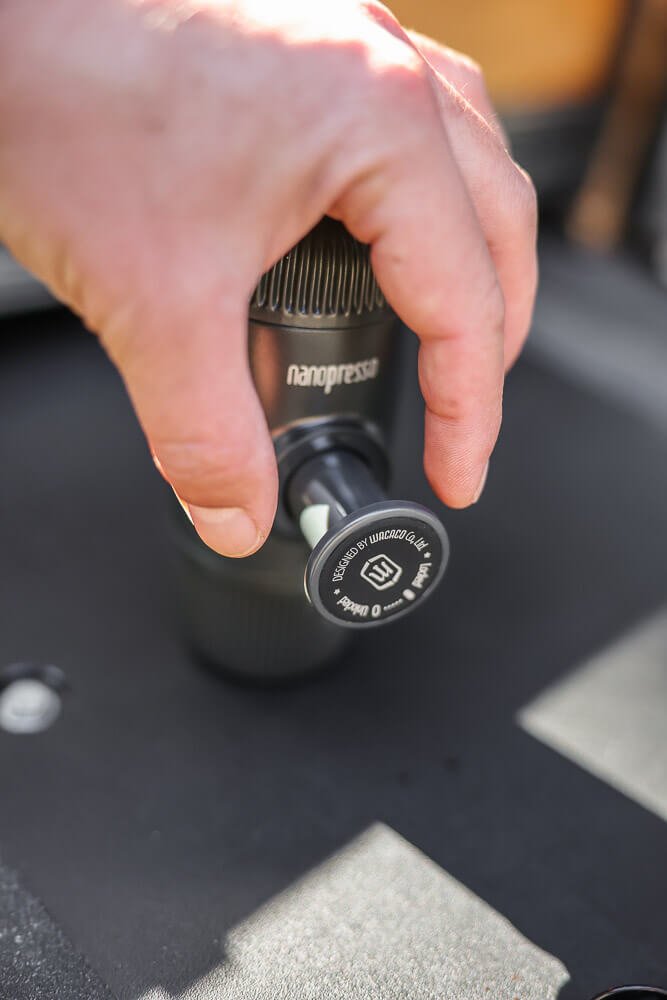
Wacaco Nanopresso Camping Espresso Maker
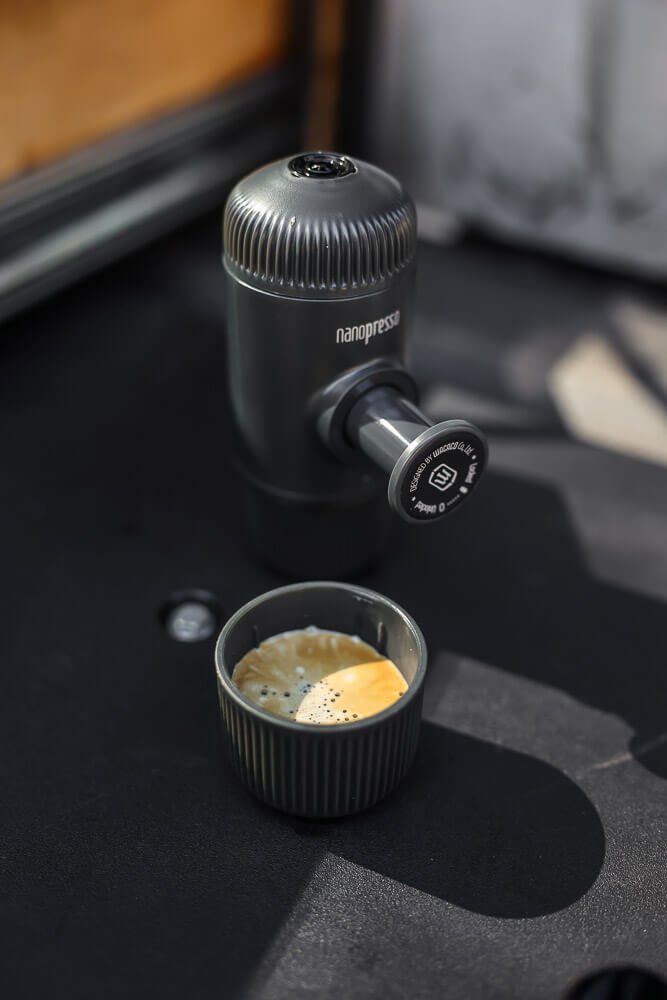
The Wacaco Nanopresso, while not as substantial as the other camping espresso makers, offers a fast and convenient way to make an espresso with a nice dense crema while camping.
Wacaco also offers a few accessories for the Nanopresso including The Barista Kit* which doubles the capacity allowing you to make a double shot of espresso, and The NS Adapter* which allows you to use original Nespresso pods* with the Nanopresso too!
Though it is the most complicated of the three camping espresso makers to master, we’ll walk you through it step-by-step below.

How to Use Your Camping Espresso Maker
While each camping espresso maker operates a little differently, the supplies needed remain the same, just be sure to always use high-quality whole-bean coffee, grind the coffee shortly beforehand, and never allow your coffee to boil:
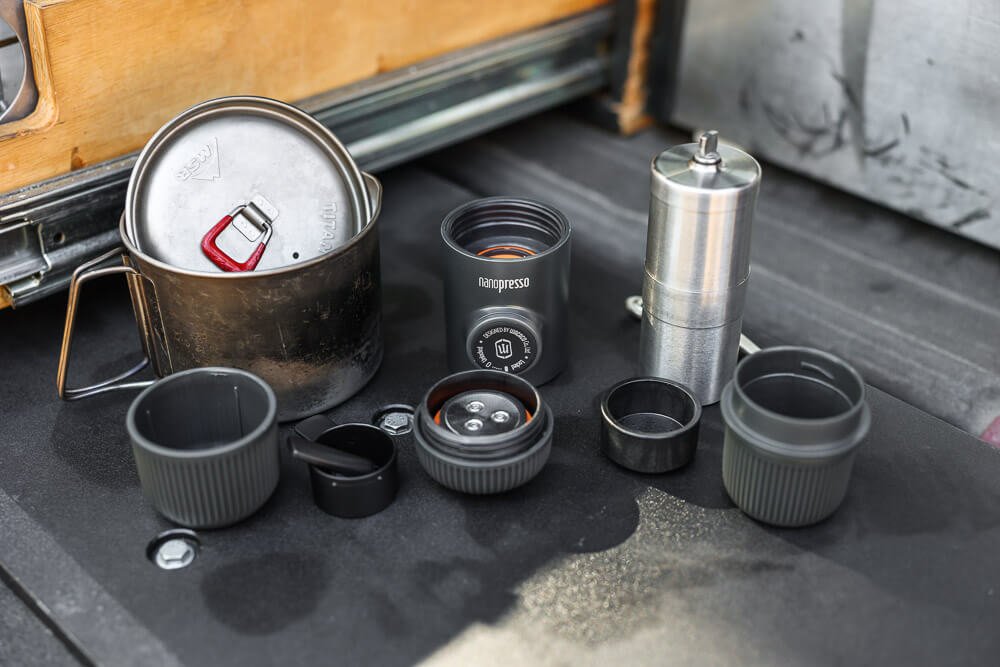
Supplies needed:
Camping Espresso Maker
A secondary pot to boil water in - like the MSR Titanium Kettle* (which we’ve personally used for over a decade!)
Your favorite mid-ground to fine-ground coffee (we’ve recommend the Porlex Mini Grinder* for grinding your coffee fresh while camping)
Camping coffee mug (*note that the Nanopresso comes with it’s own cup for your camping espresso, but you’ll want something larger for making an americano)
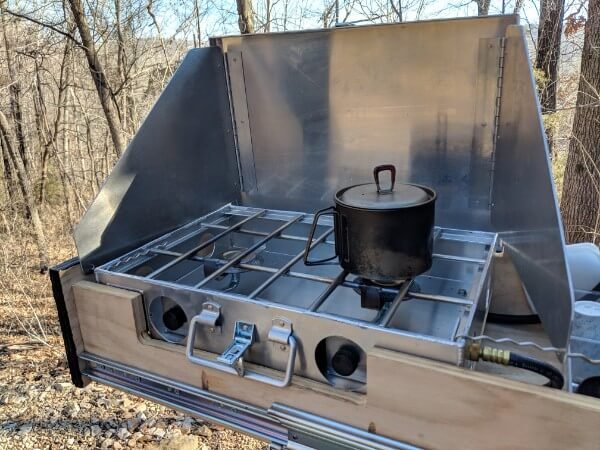
Heat Source - for this you’ll want to use your camp stove, as a campfire’s heat is too inconsistent for properly brewing espresso
How to make Espresso while Camping with a Moka Pot or GSI MiniEspresso
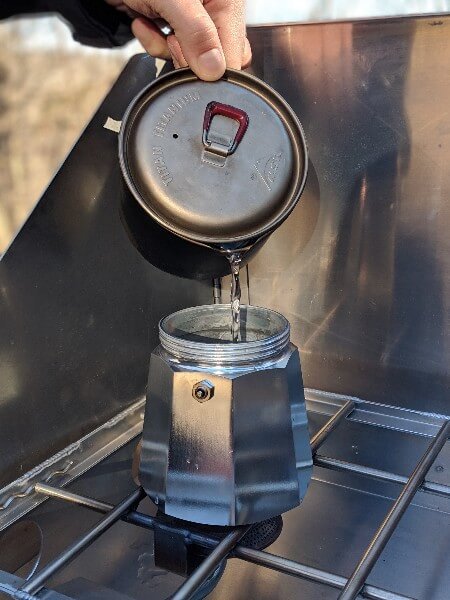
Using the secondary pot, bring water to a boil
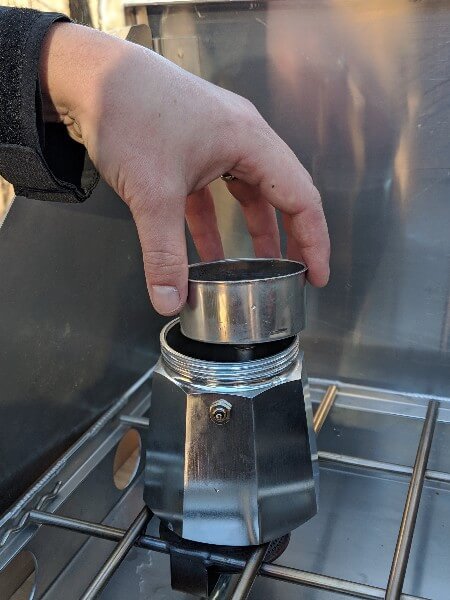
Fill the bottom chamber of the espresso pot with the just-off-the-boil water to the fill line
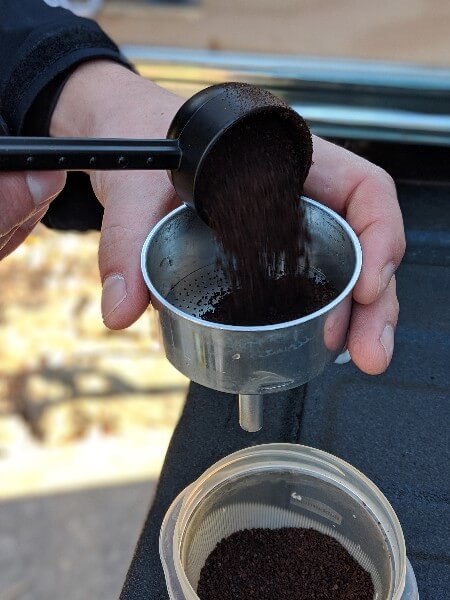
Fill the grounds basket, and level out the grounds with your finger (do not compress - “tamp” - the grounds)
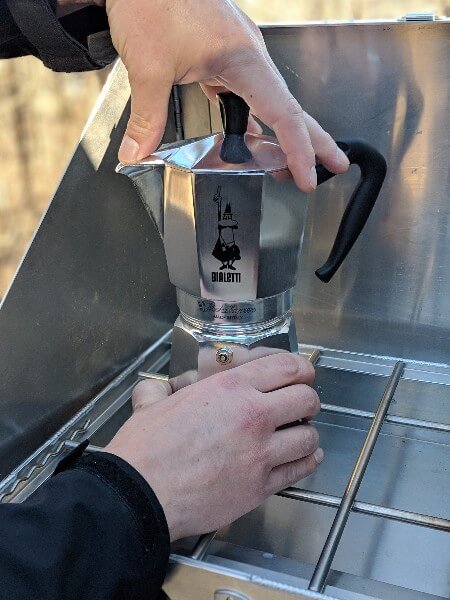
Place the grounds basket into the bottom chamber and screw on the upper chamber (or spout, in the case of the GSI MiniEspresso)
Place the espresso pot on low-medium heat (emphasis on the low) and watch for that delicious coffee to begin oozing into the upper chamber - In our experience this generally takes about 6-10 minutes
*If it’s spurting like a volcano, your heat is too high!
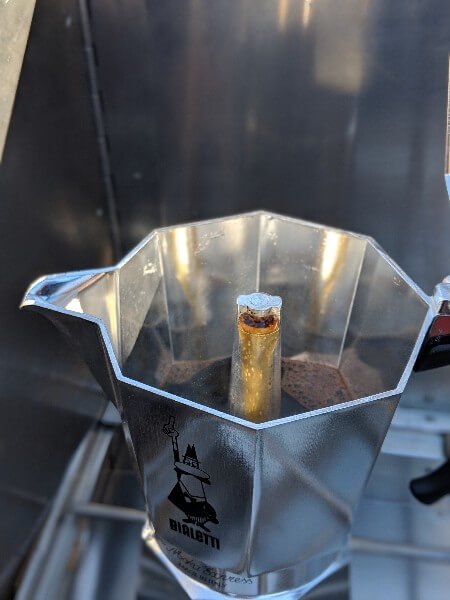
When the color of the oozing coffee coming into the upper chamber (or into the cup in the case of the GSI MiniEspresso) turns a golden honey color, it’s time to remove the espresso pot from the heat
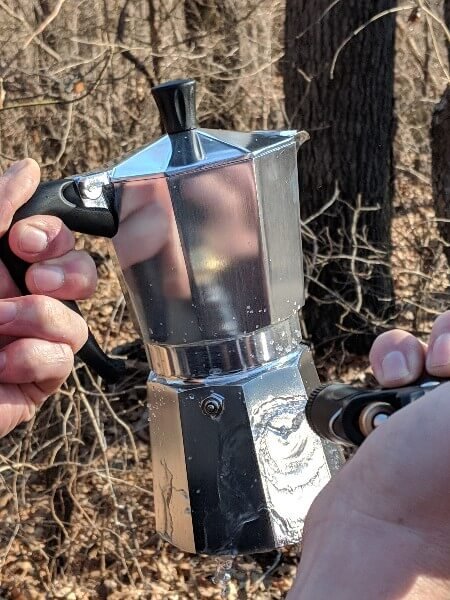
Pour a bit of cool water over the exterior of the bottom chamber to stop the brewing
**This step, along with pre-boiling the water in step 1, helps prevent your camping espresso from taking on a metallic taste from the pot
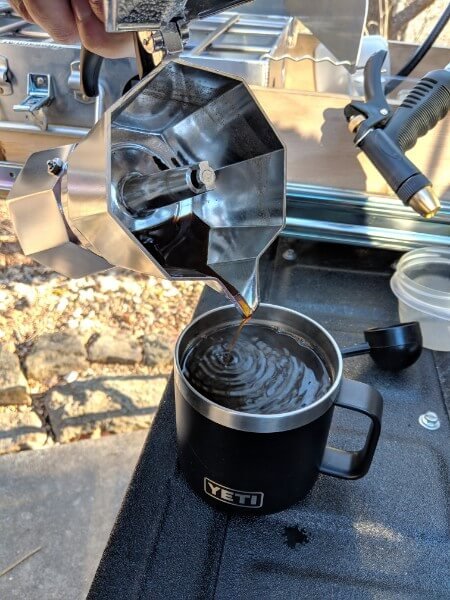
Pour and enjoy the rush of a delicious camping espresso - or make an Americano by mixing with 50% hot water
How to make Espresso while Camping with a Wacaco Nanopresso
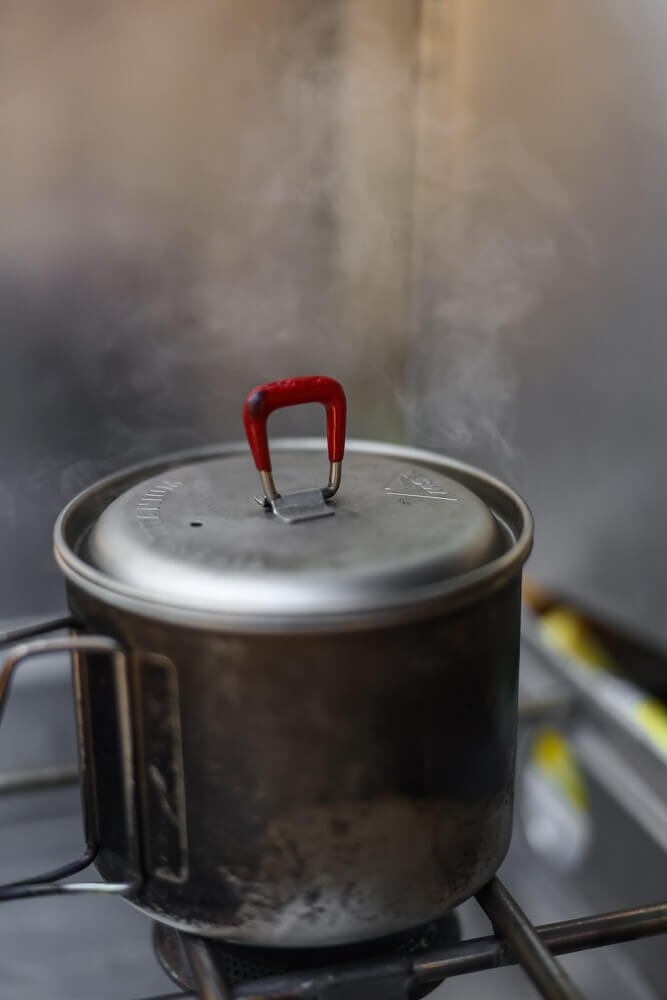
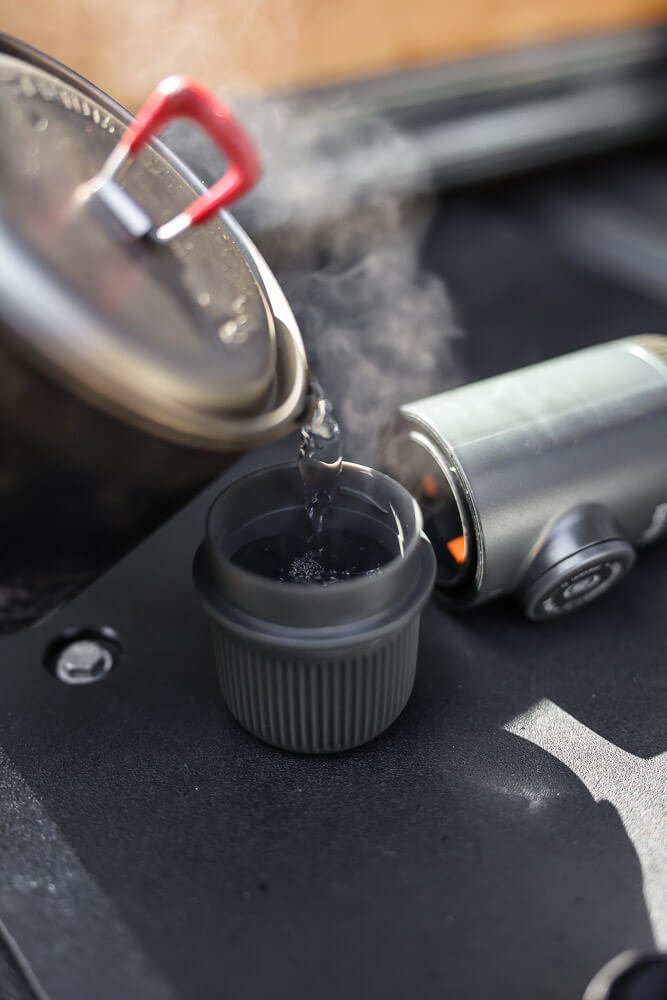

Using the secondary pot, bring water to a boil
Pro Tip: Boil extra water and fill the water chamber of the Nanopresso with the just-off-the-boil water to the fill line and pump a cycle through the device to pre-warm all the components - this will ensure a nice hot shot of espressoUnscrew the Portafilter and remove the coffee filter basket
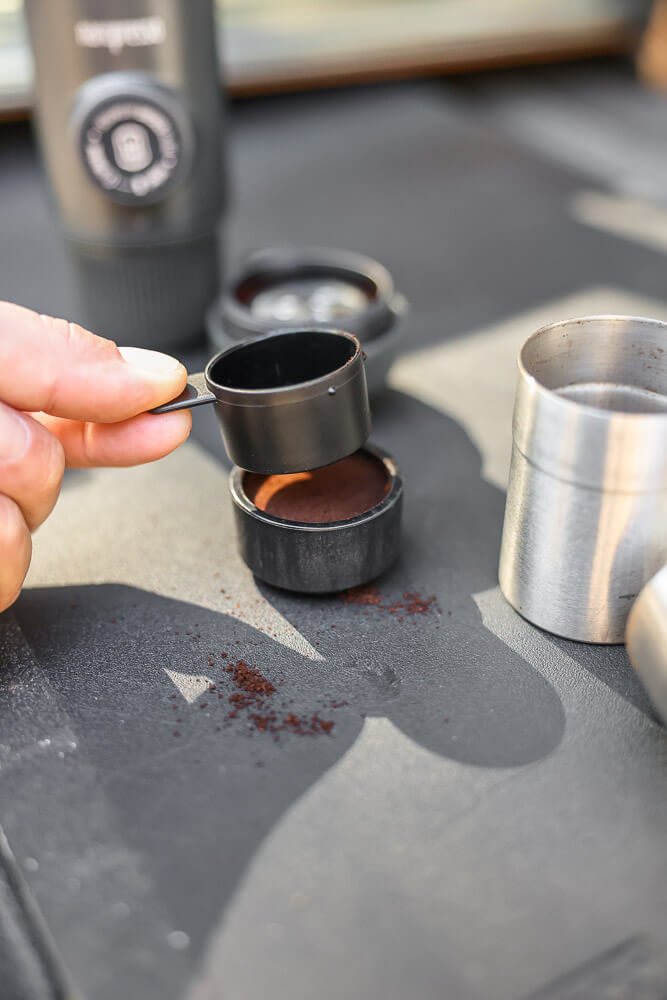
Fill the filter basket using the included scoop with finely ground coffee, and gently tamp the grounds using the bottom of the scoop - leaving 4mm (the thickness of two nickels stacked) of space at the top of the filter basket
*Clean any loose grounds off the top edge of the filter basket
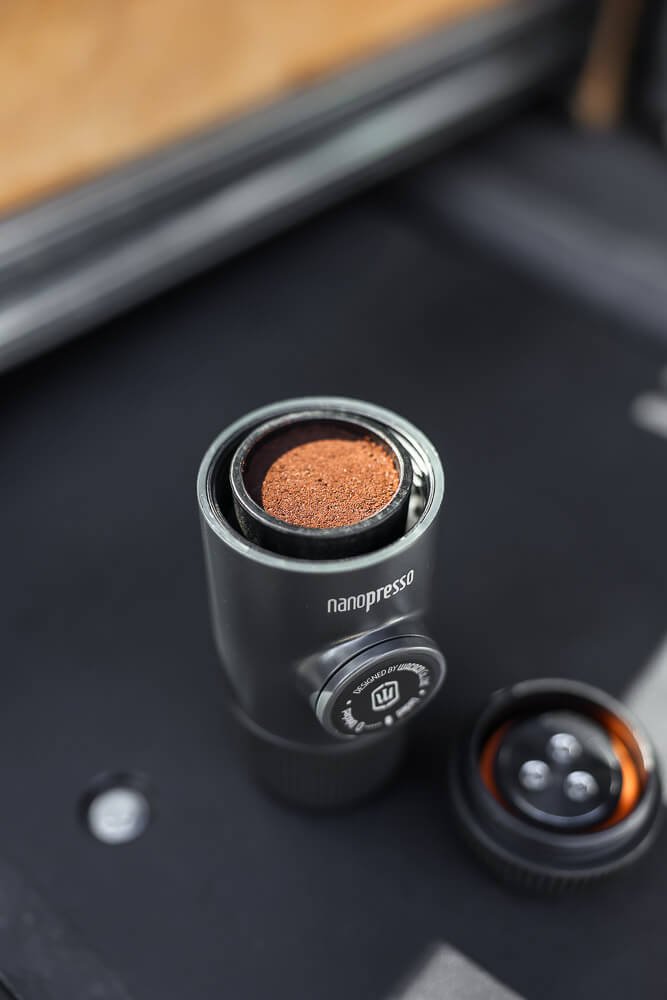
Place the filter basket into the top of the Nanopresso and screw the portafilter back on top
Remove water chamber from the bottom of the Nanopresso and fill with just-off-the-boil water to the fill line
Unlock the Nanopresso’s piston by turning counter-clockwise
Invert the Nanopresso over your camping mug and slowly begin pumping the piston to build up pressure (typically 6-8 pumps)
Continue pumping until the espresso is fully extracted, this typically takes 20-30 pumps, stopping once there is no longer resistance felt
Enjoy your delicious camping espresso!
And here’s a quick video of how to use the Nanopresso to help clarify the process if needed:
How to Clean Your Camping Espresso Maker
1. Disassemble the upper and lower chamber
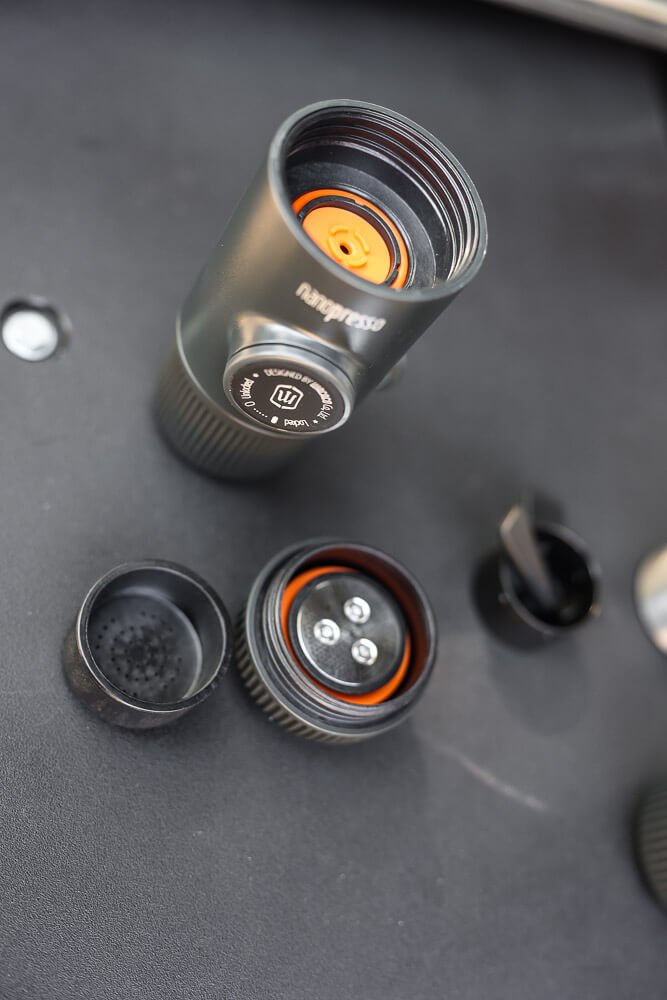
For the Nanopresso, we recommend routinely (every 4-5 uses, or as needed) removing the mesh “portafilter” (pictured below, allen wrench required) and cleaning it by running boiling water through it - when clogged, it’s one of the primary reasons people have issues with their Nanopresso

2. Remove and dump the grounds basket
3. Rinse all components thoroughly
4. Wash with biodegradable soap
5. Repeat rinse
6. Air dry
Now you can grab your camping espresso maker with the confidence of a seasoned barista, head for the outdoors, and enjoy an invigorating cup of espresso by the campfire!
If you find that using a camping espresso maker is too tedious for you, be sure to check out these 7 Ways To Make Incredible Camping Coffee for some alternative ways to get your caffeine fix.
And be sure to SUBSCRIBE to our blog updates for more helpful camping, overlanding, and family travel guides.
Related Posts:
Pin It!

Share This Post!